
Main Menu


chassis
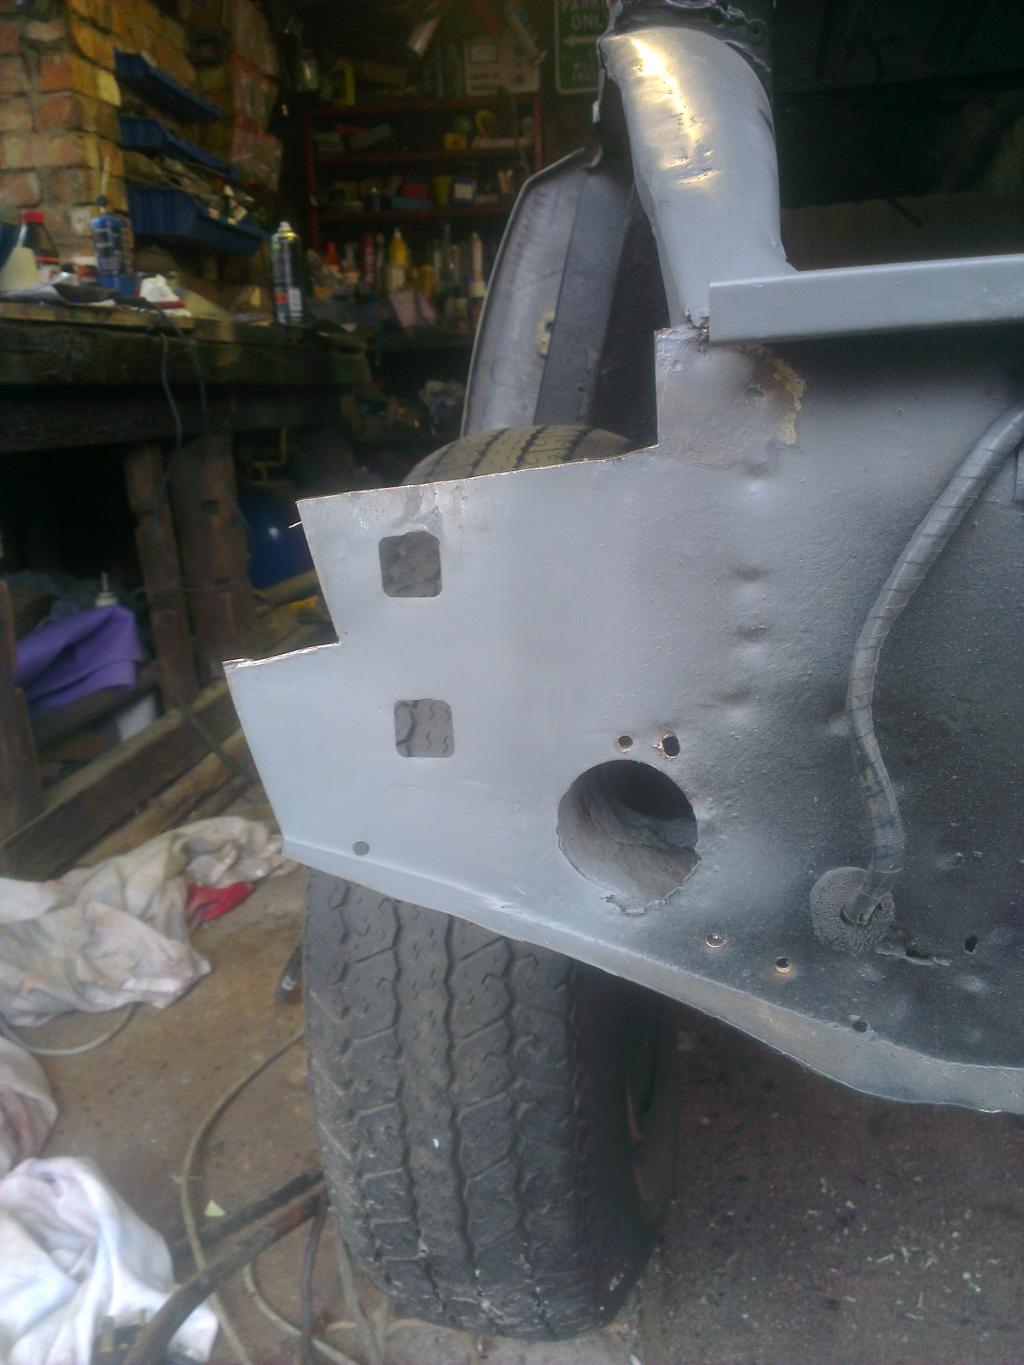
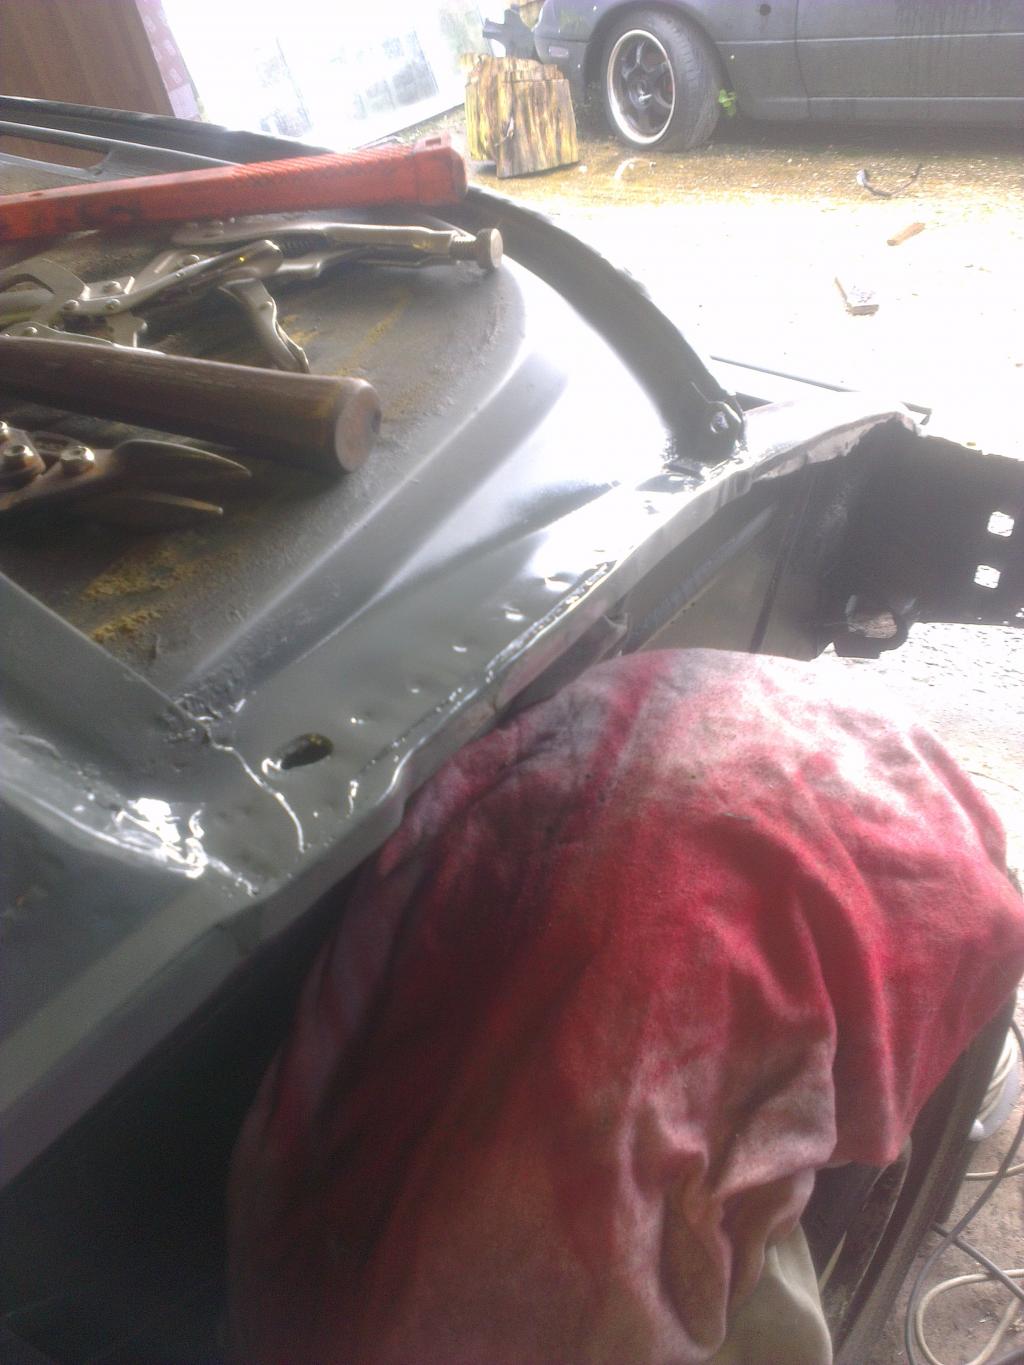
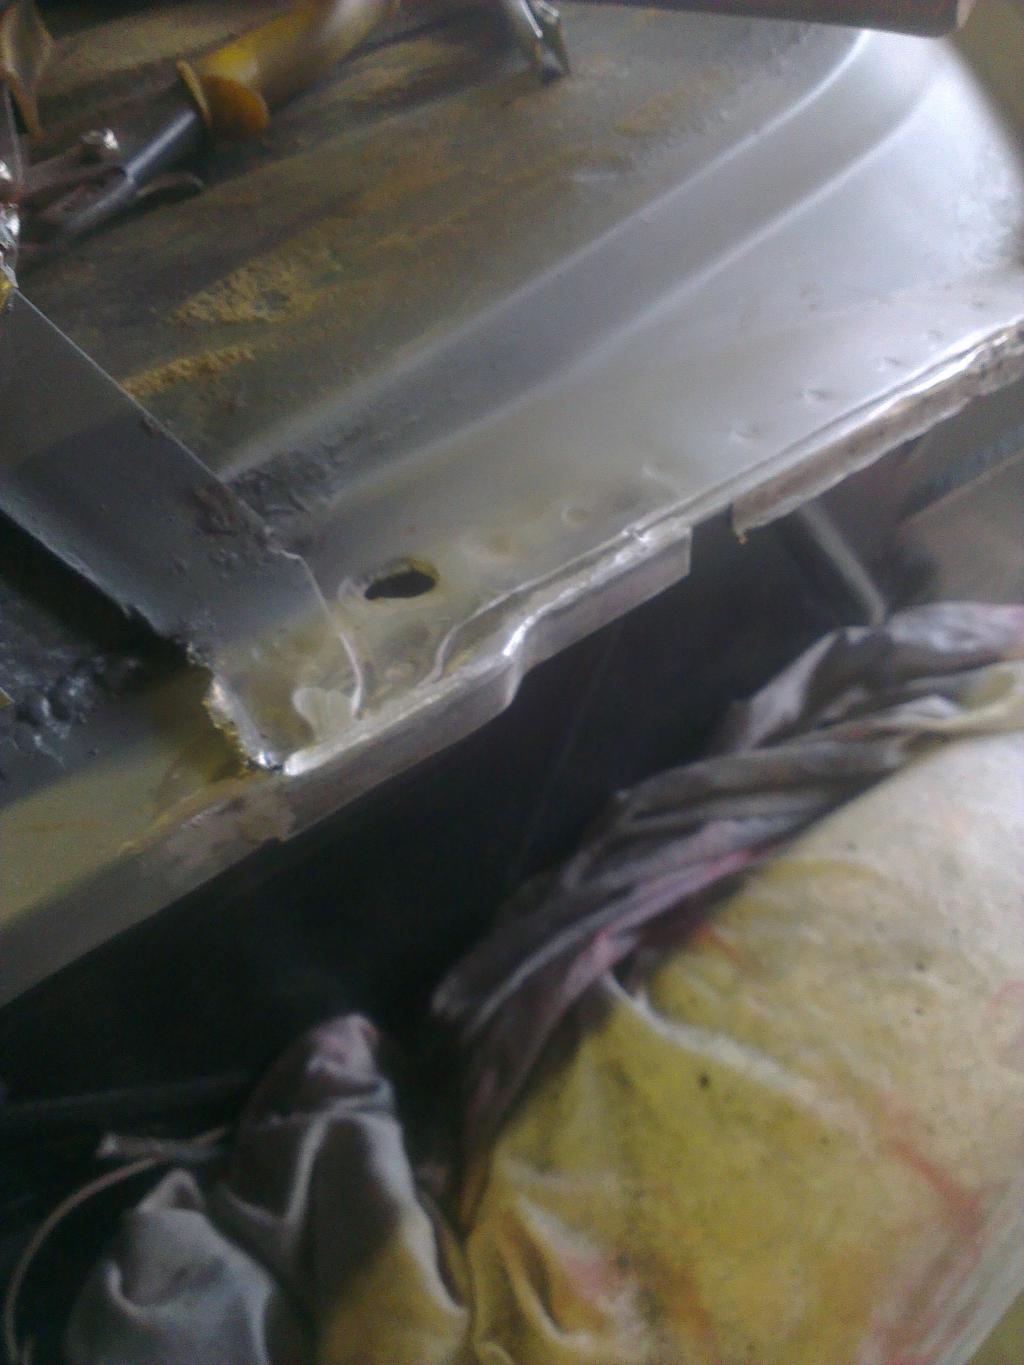
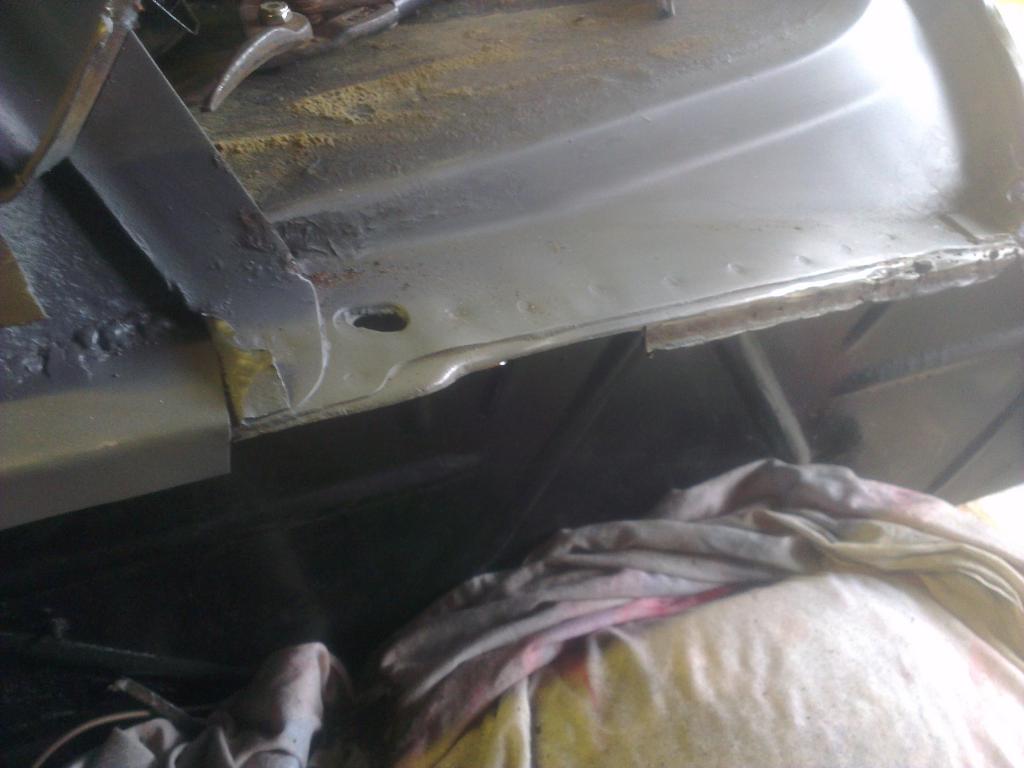
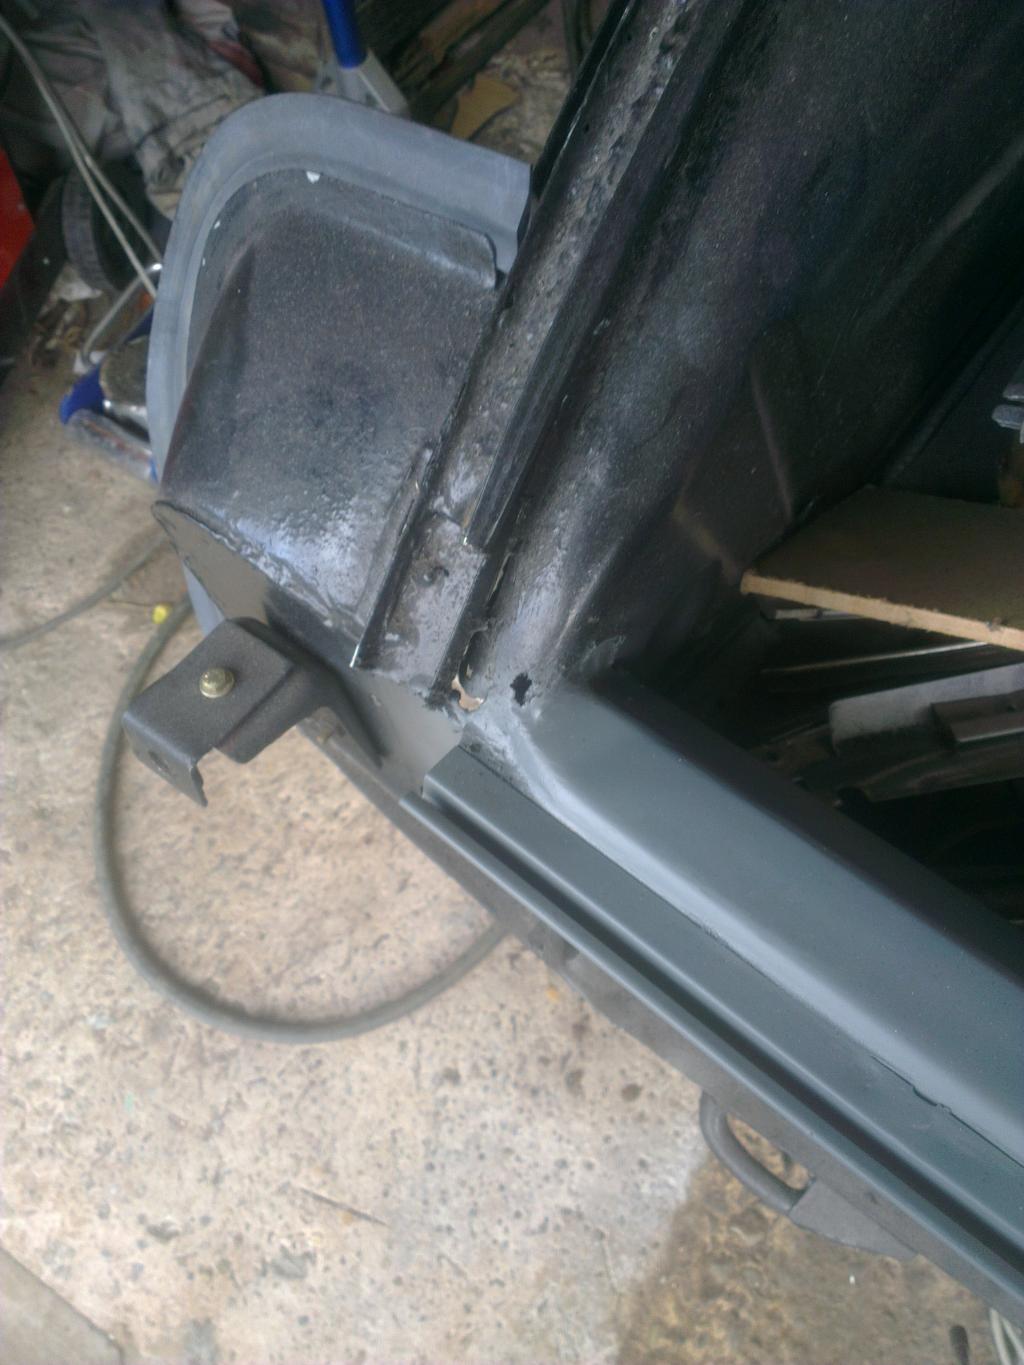
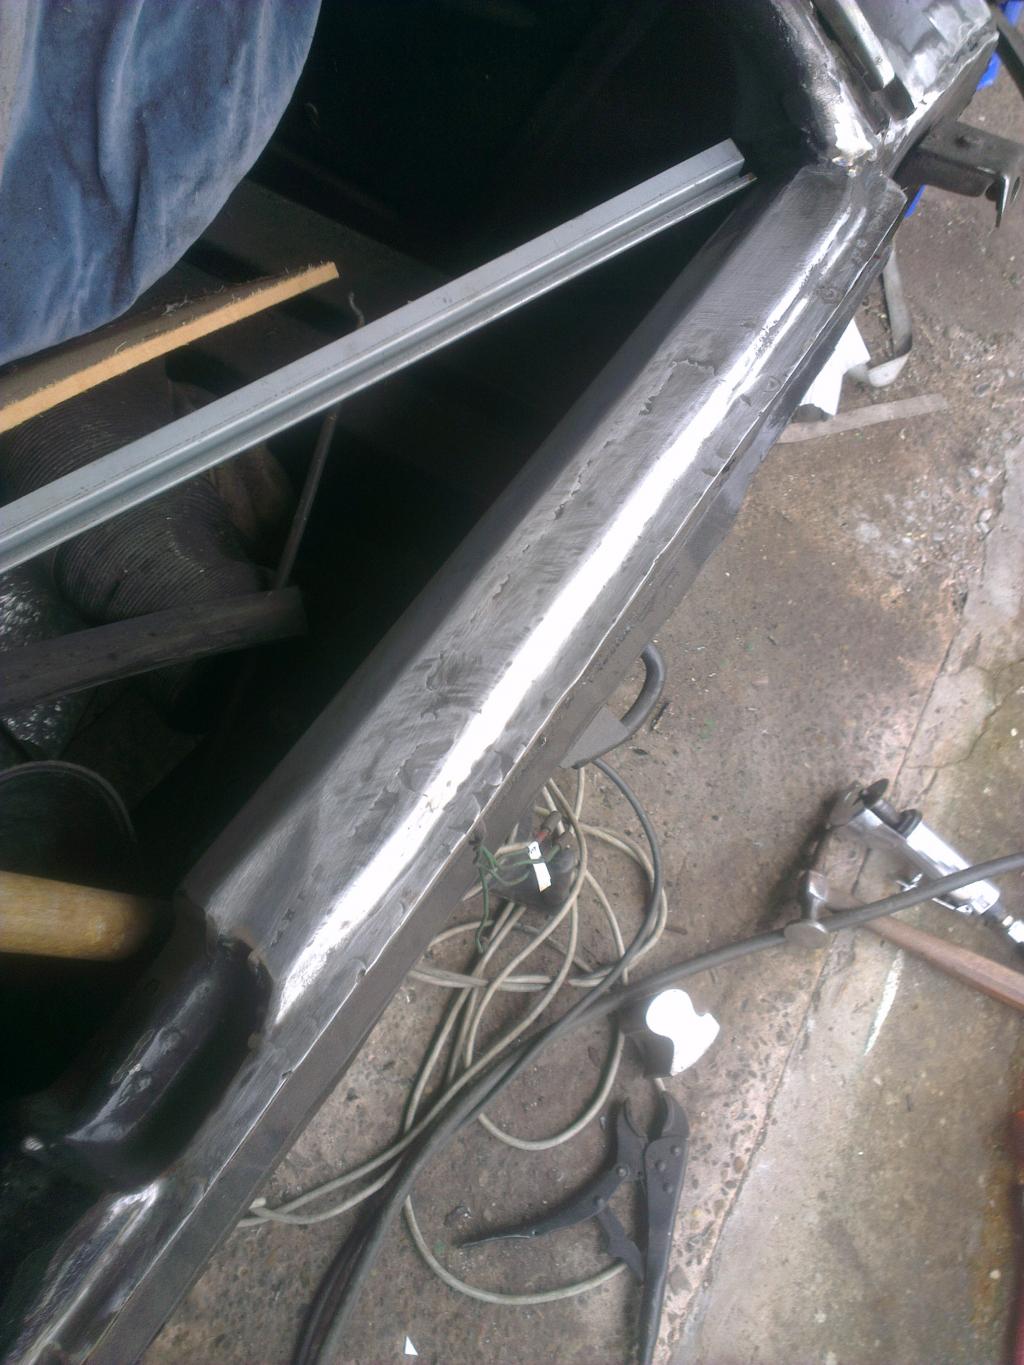
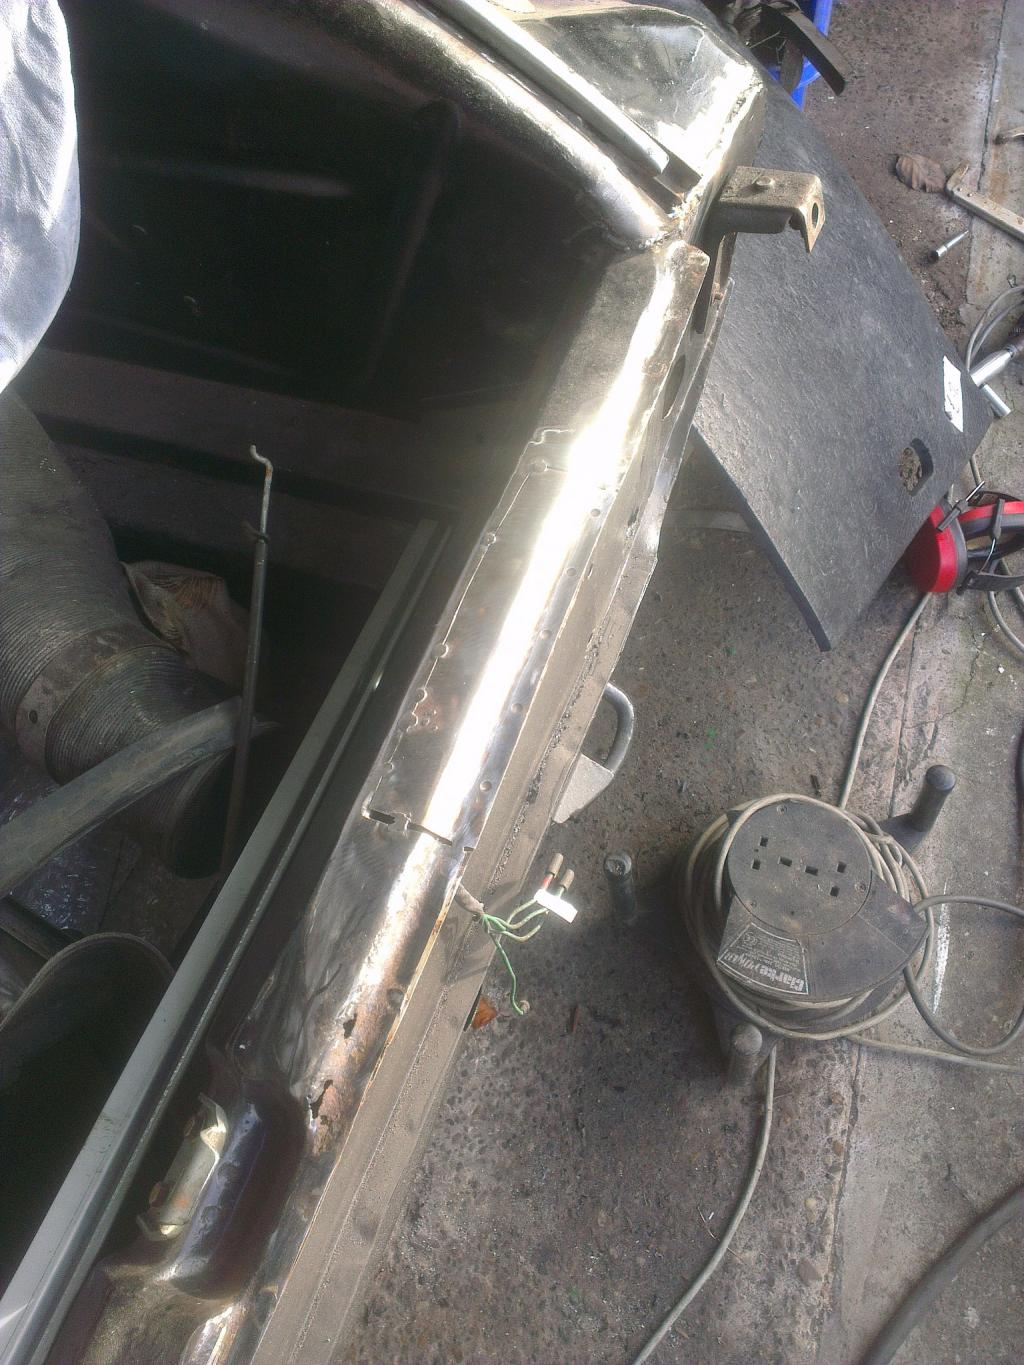
After welding the join closed between the two pieces I smoothed down the welds and primed it. Next I will repair the area around the bumper mounting.
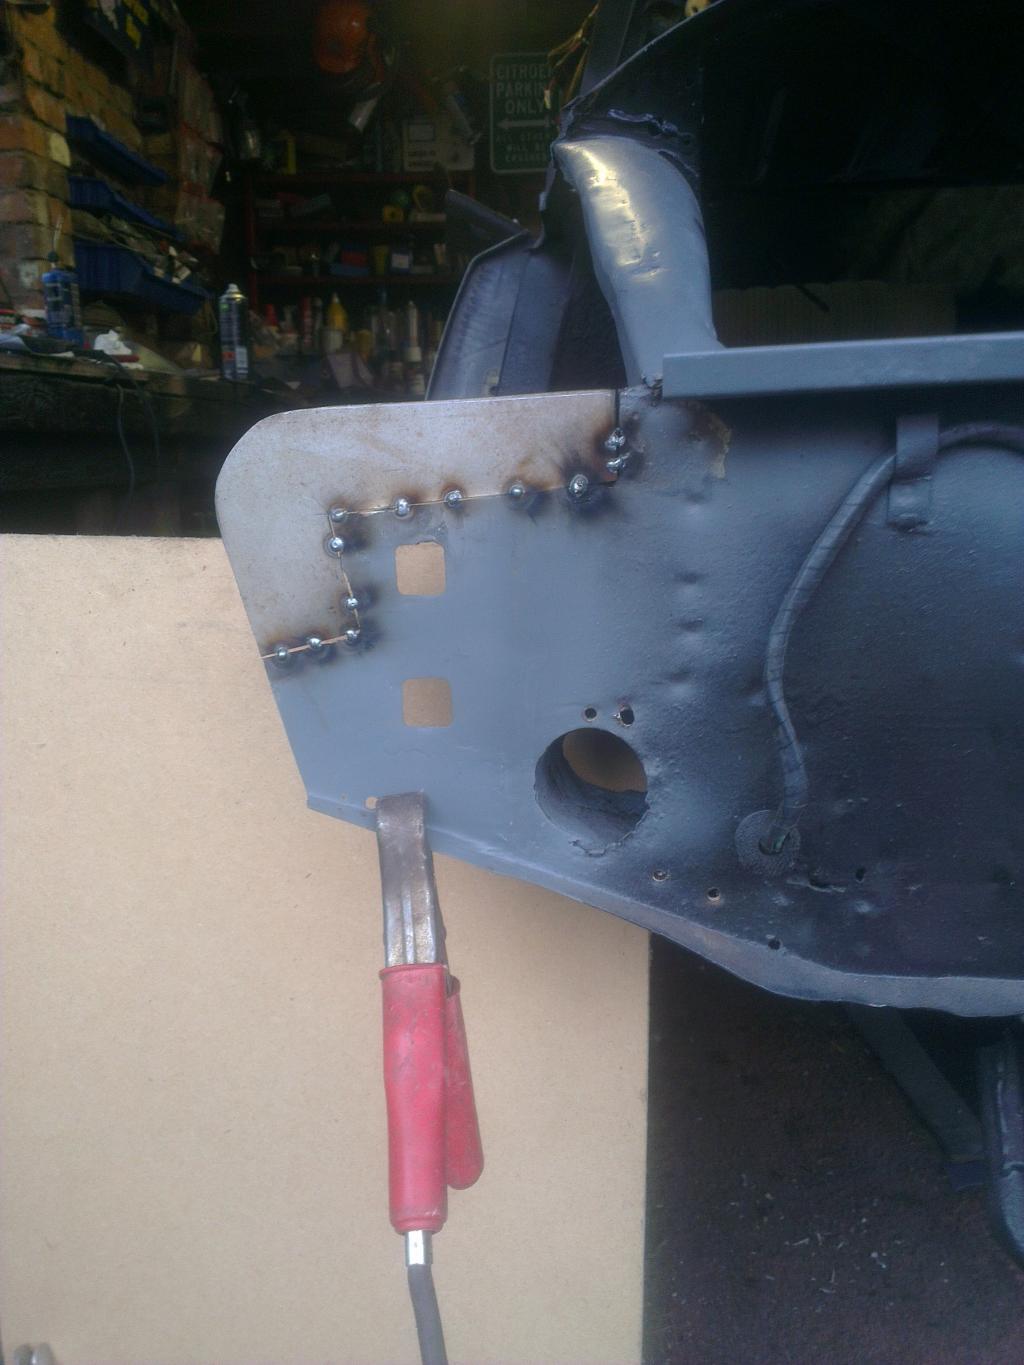
I made up a repair section and butt welded it into place. Here it is tacked.
More repairs to the rear panel - here I have cut out the old metal in preparation for adding new.
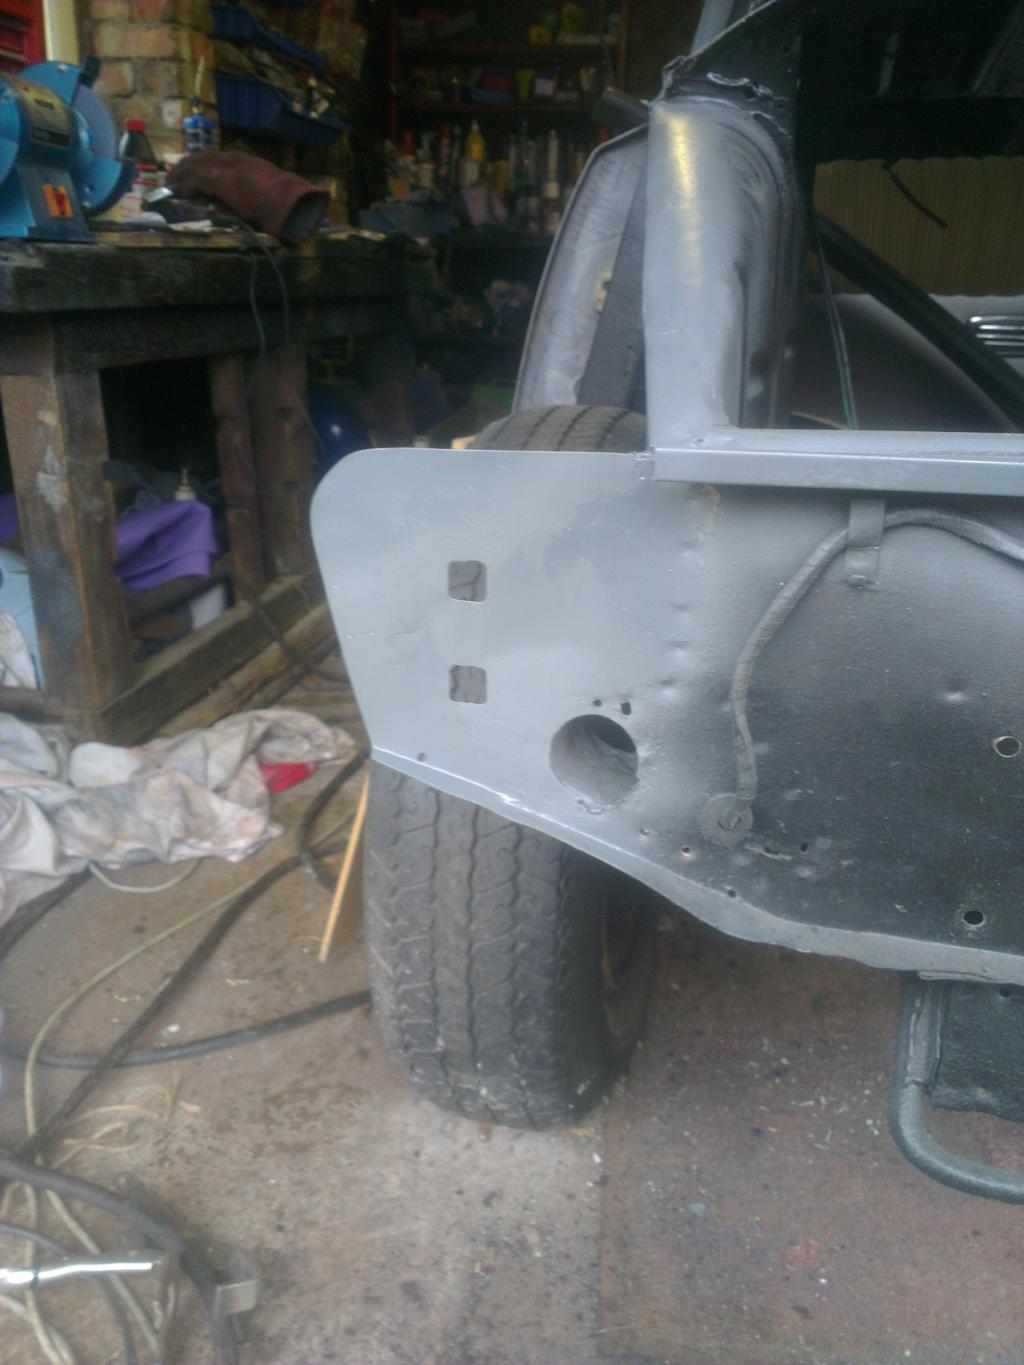
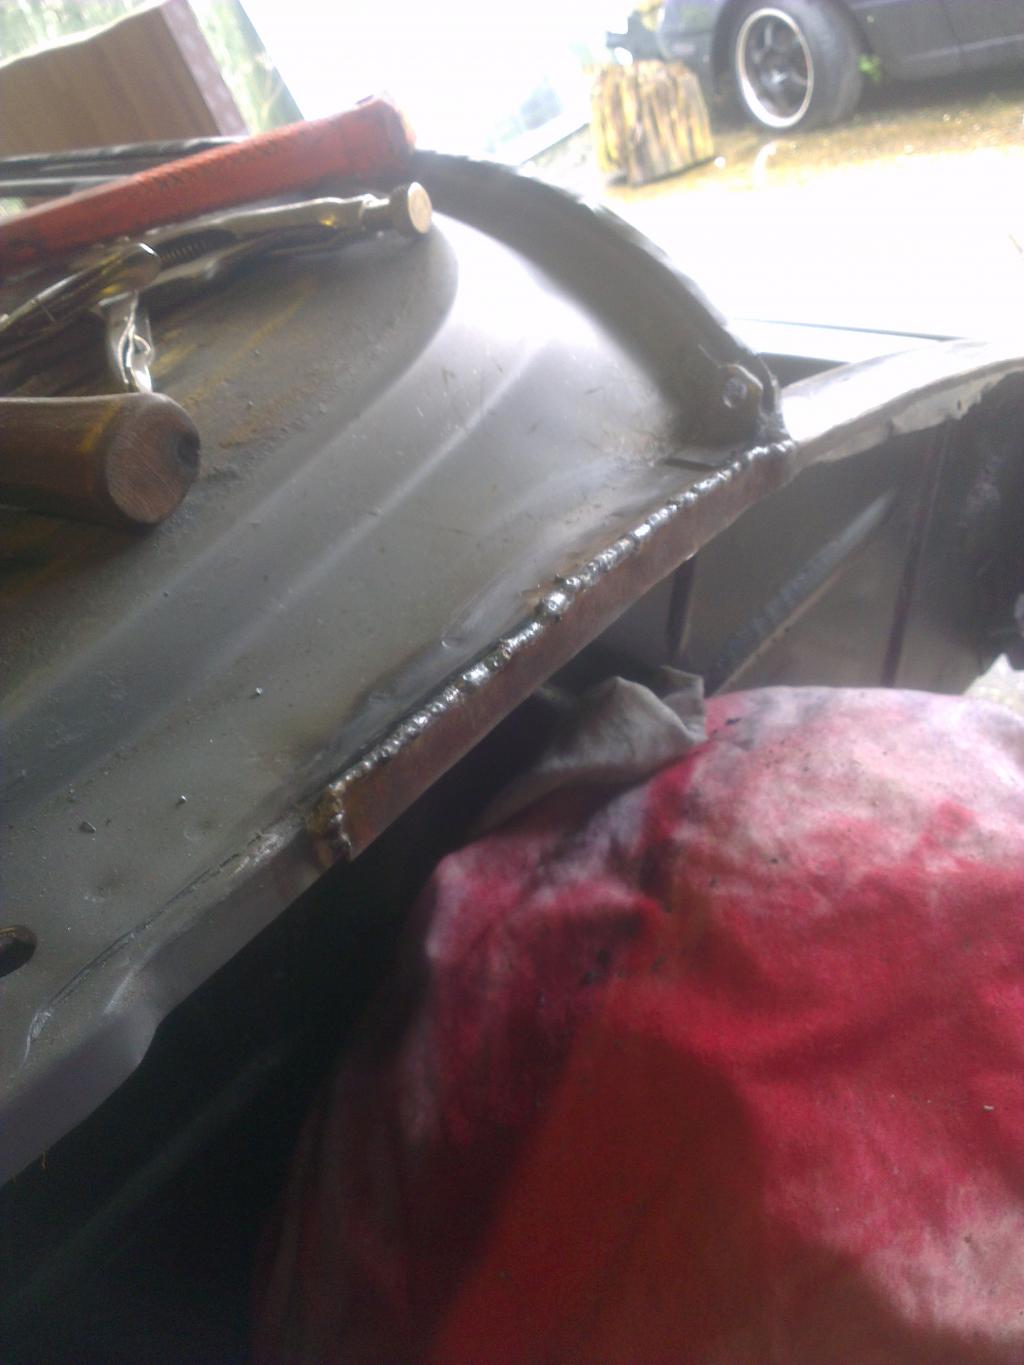
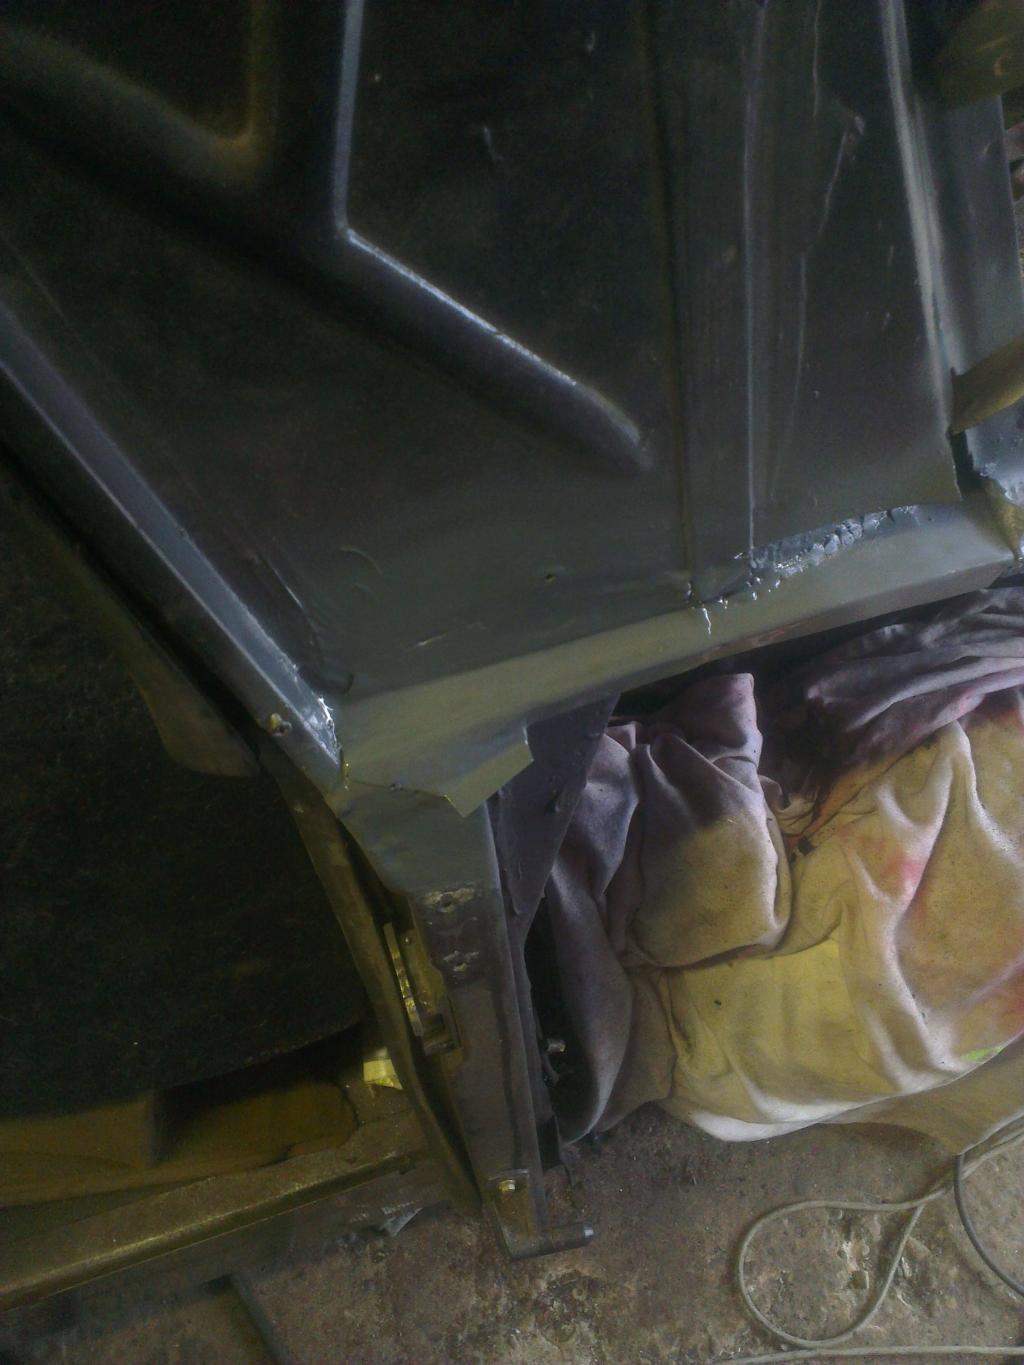
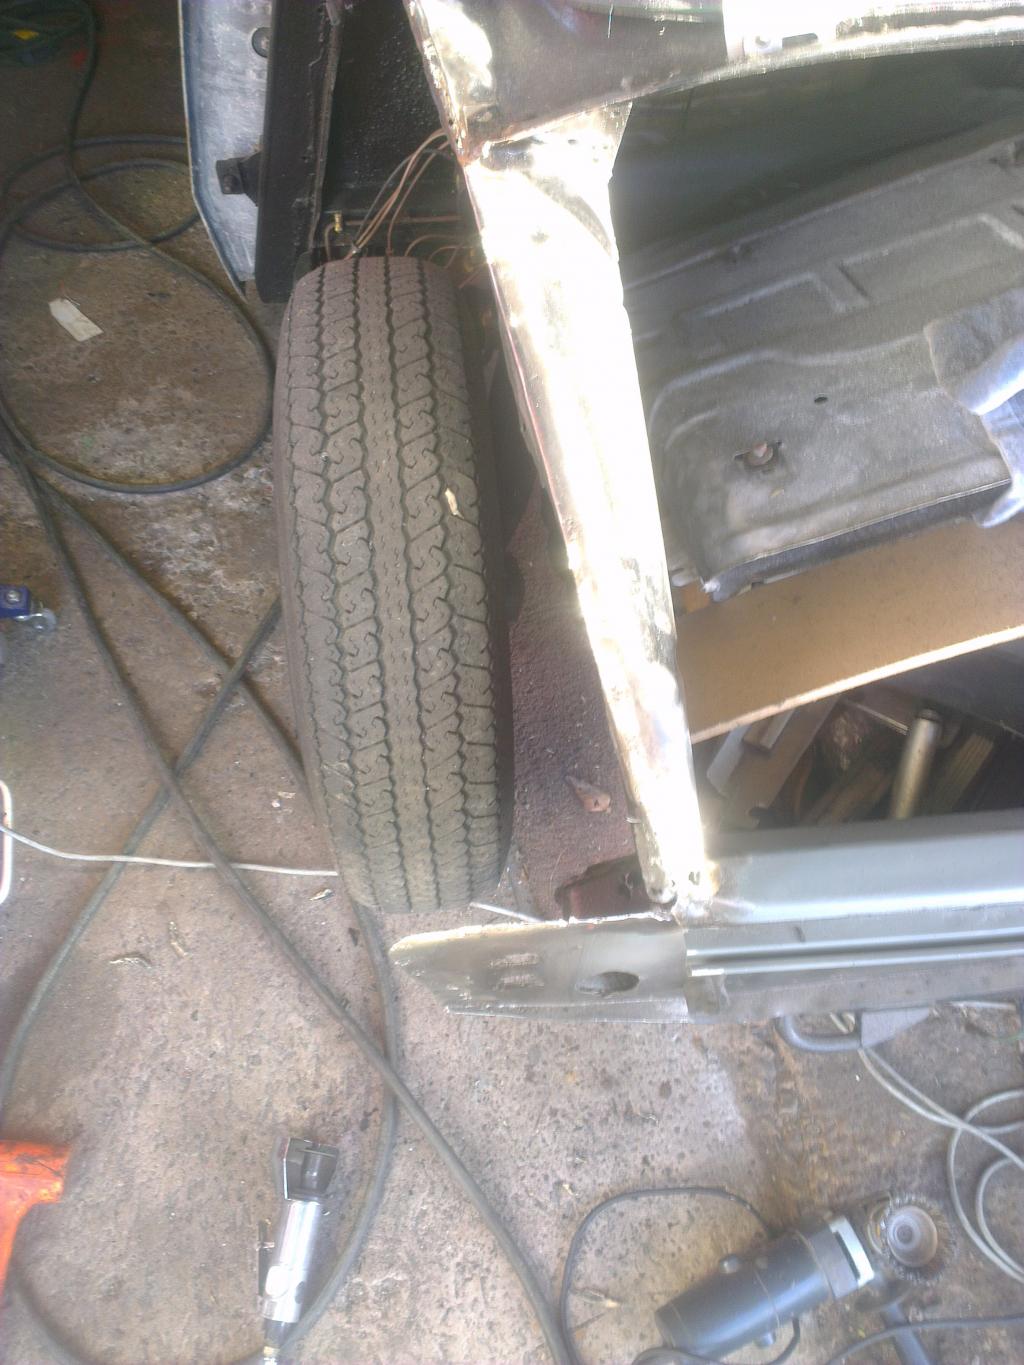
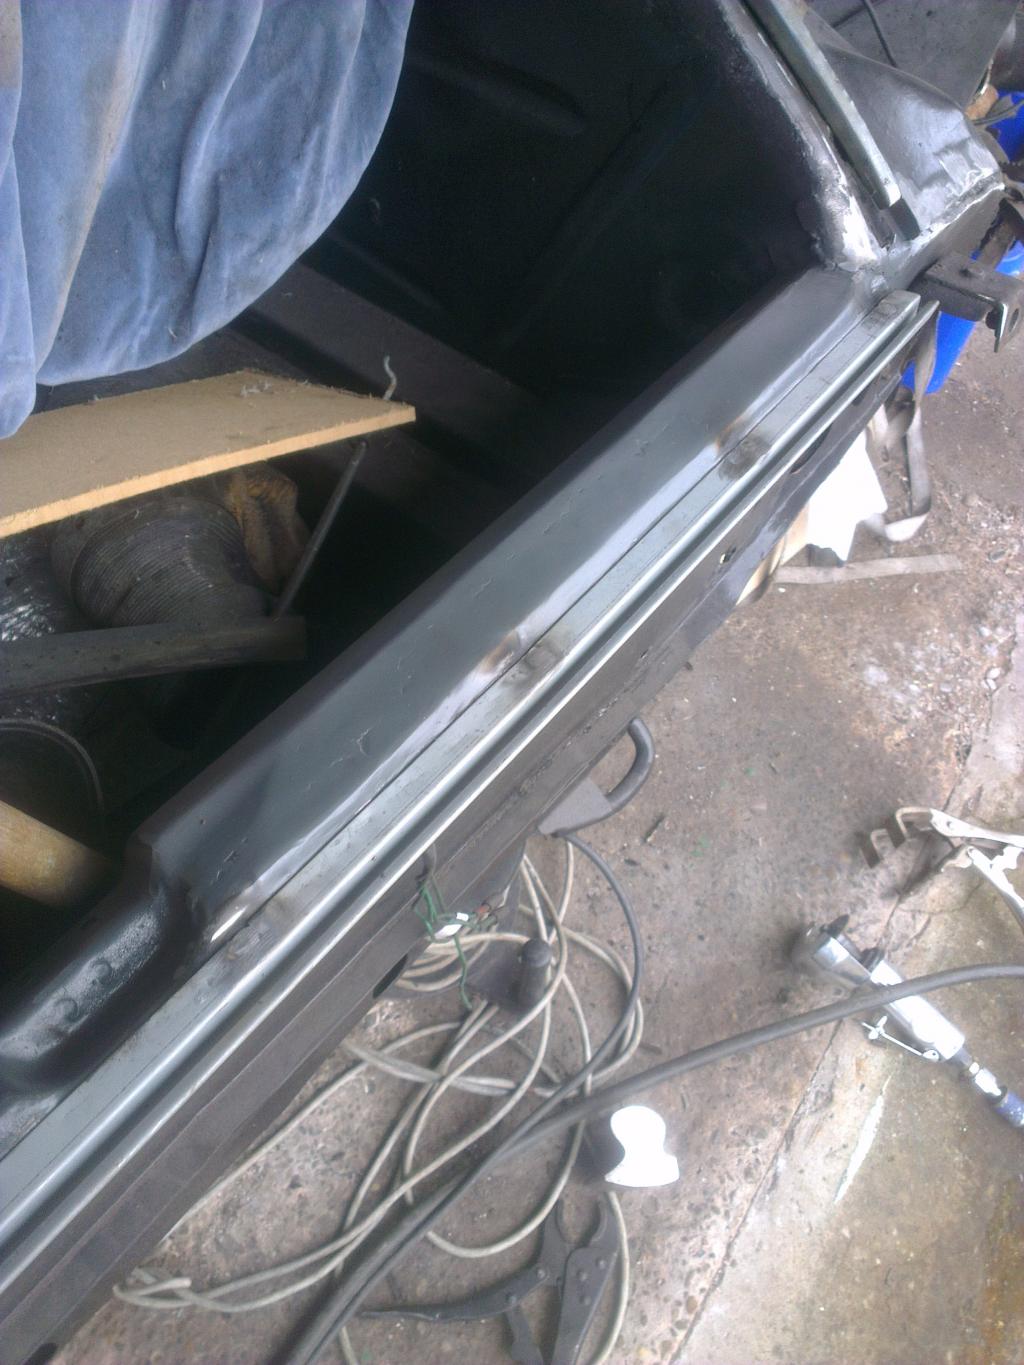
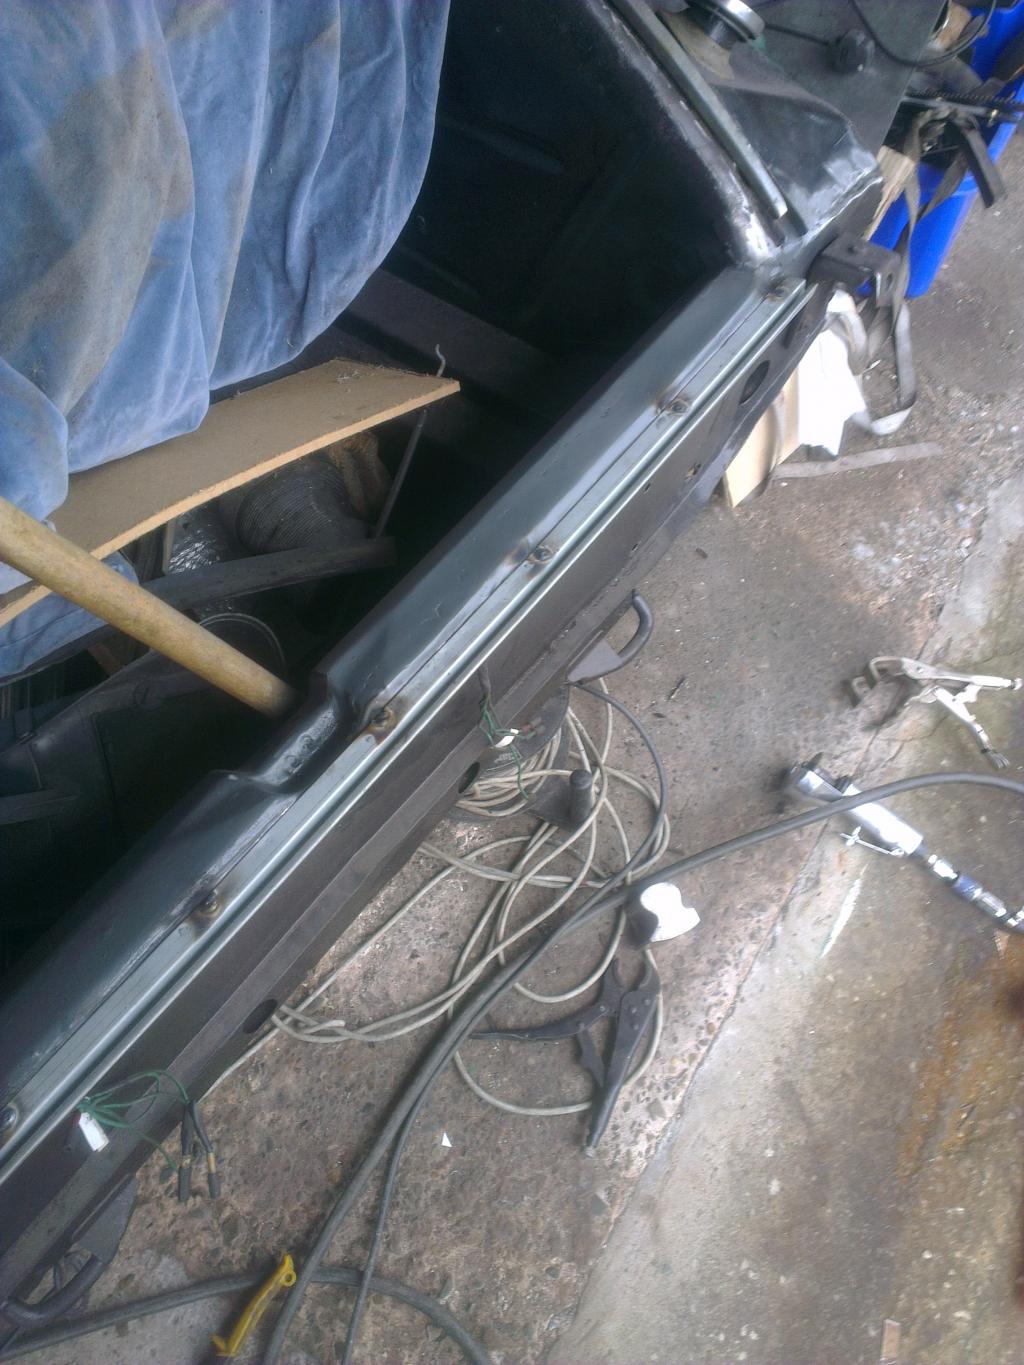
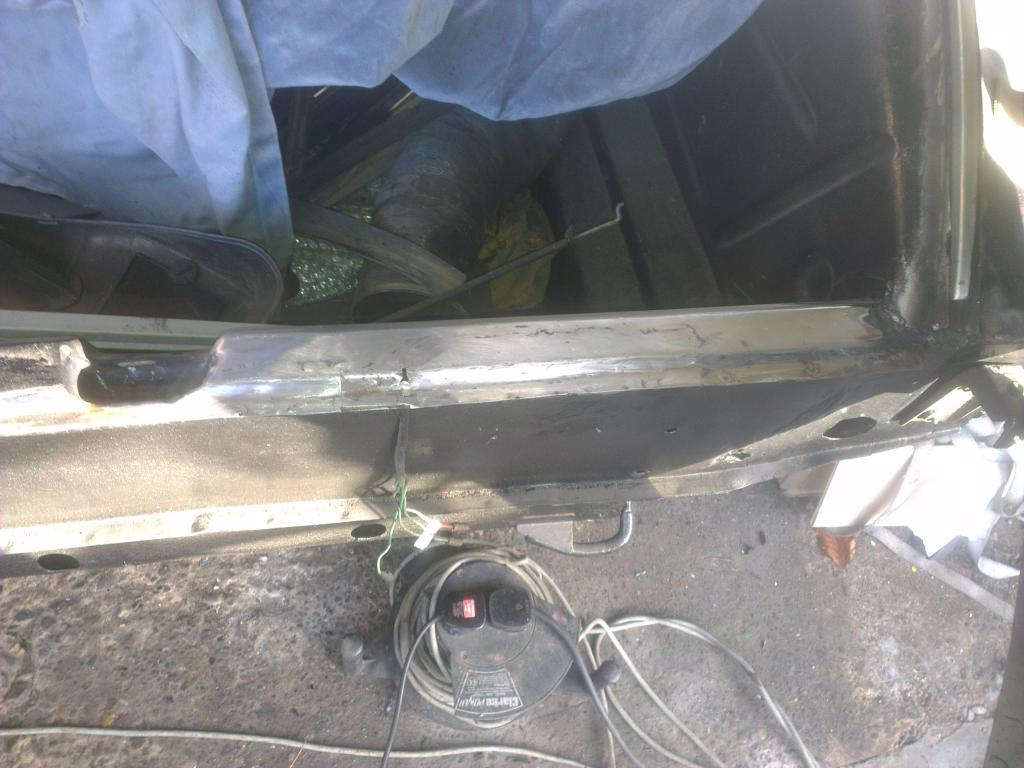
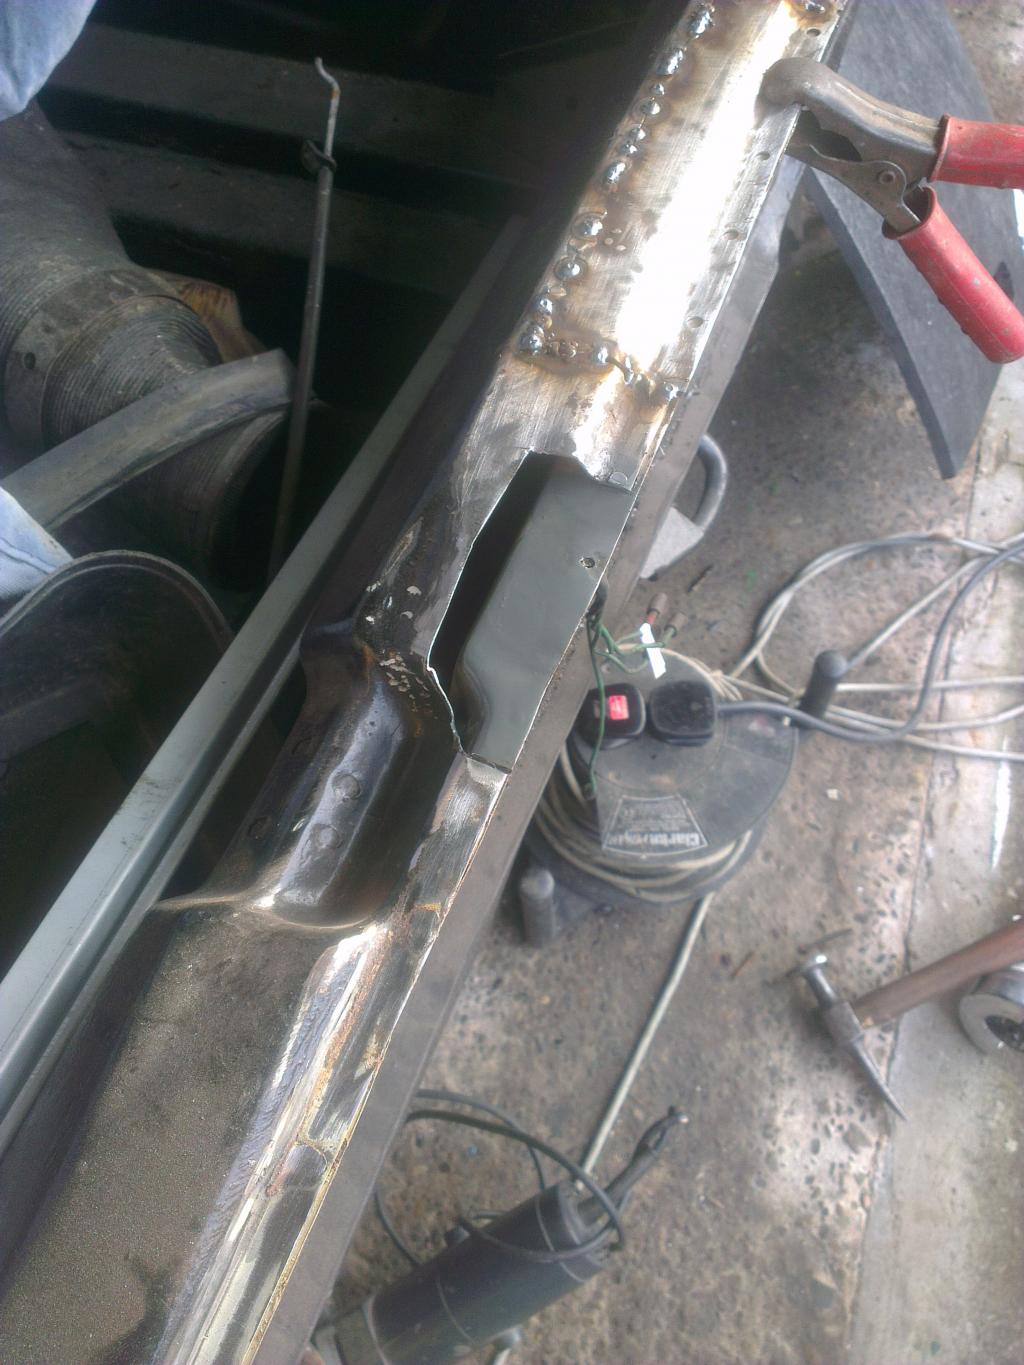
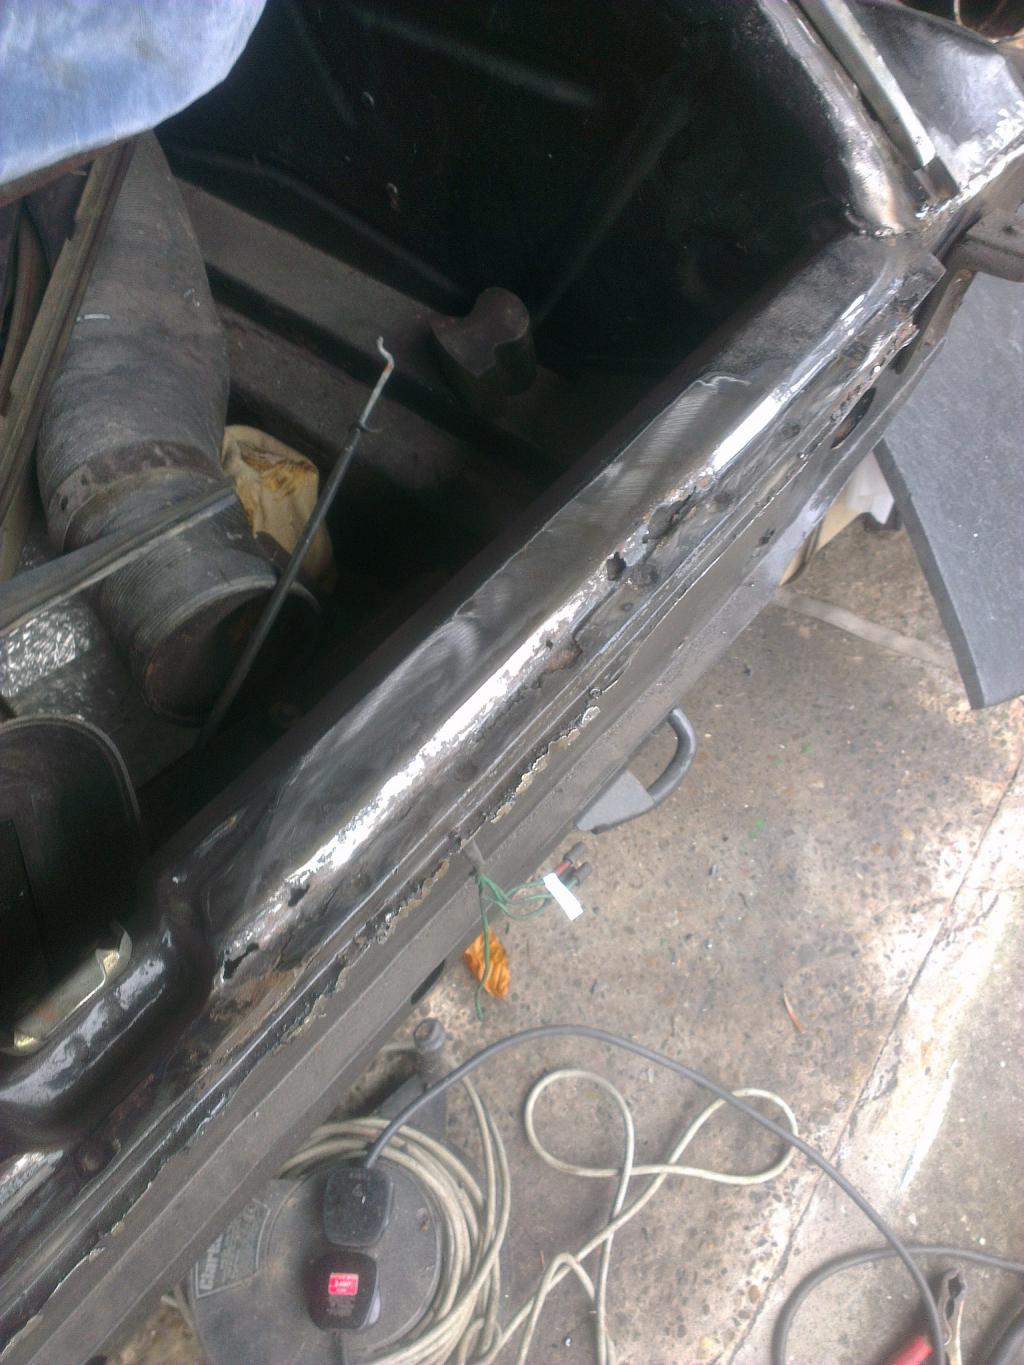
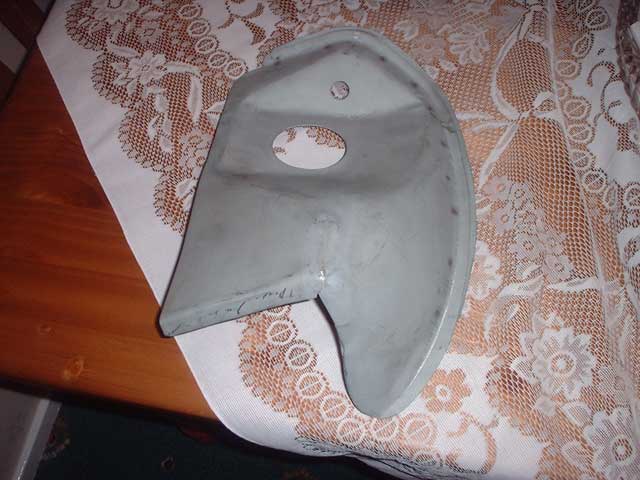
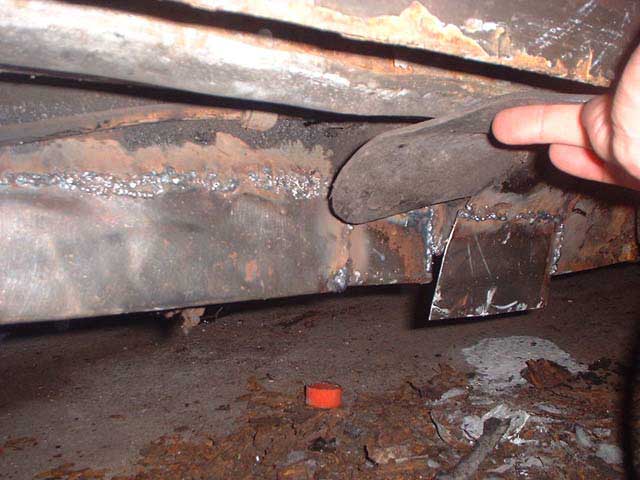
This is the rear left bumper mount before being repaired
Not much to report today - I just repaired the lower left corner of the rear panel by fabricating a new piece, cutting the old away and then butt welding the new metal in. Next I will do the same to the top edge of this piece before reattaching the elephants ear panel.

The rear wheelarch flange is nearly finished, just one more small section to add in the middle of the panel and then I can add the raingutters.
And here is the final piece of the rear wheelarch added
Here another section of the rear wheelarch flange has been tack welded into position
And here is the same area after smoothing and priming.
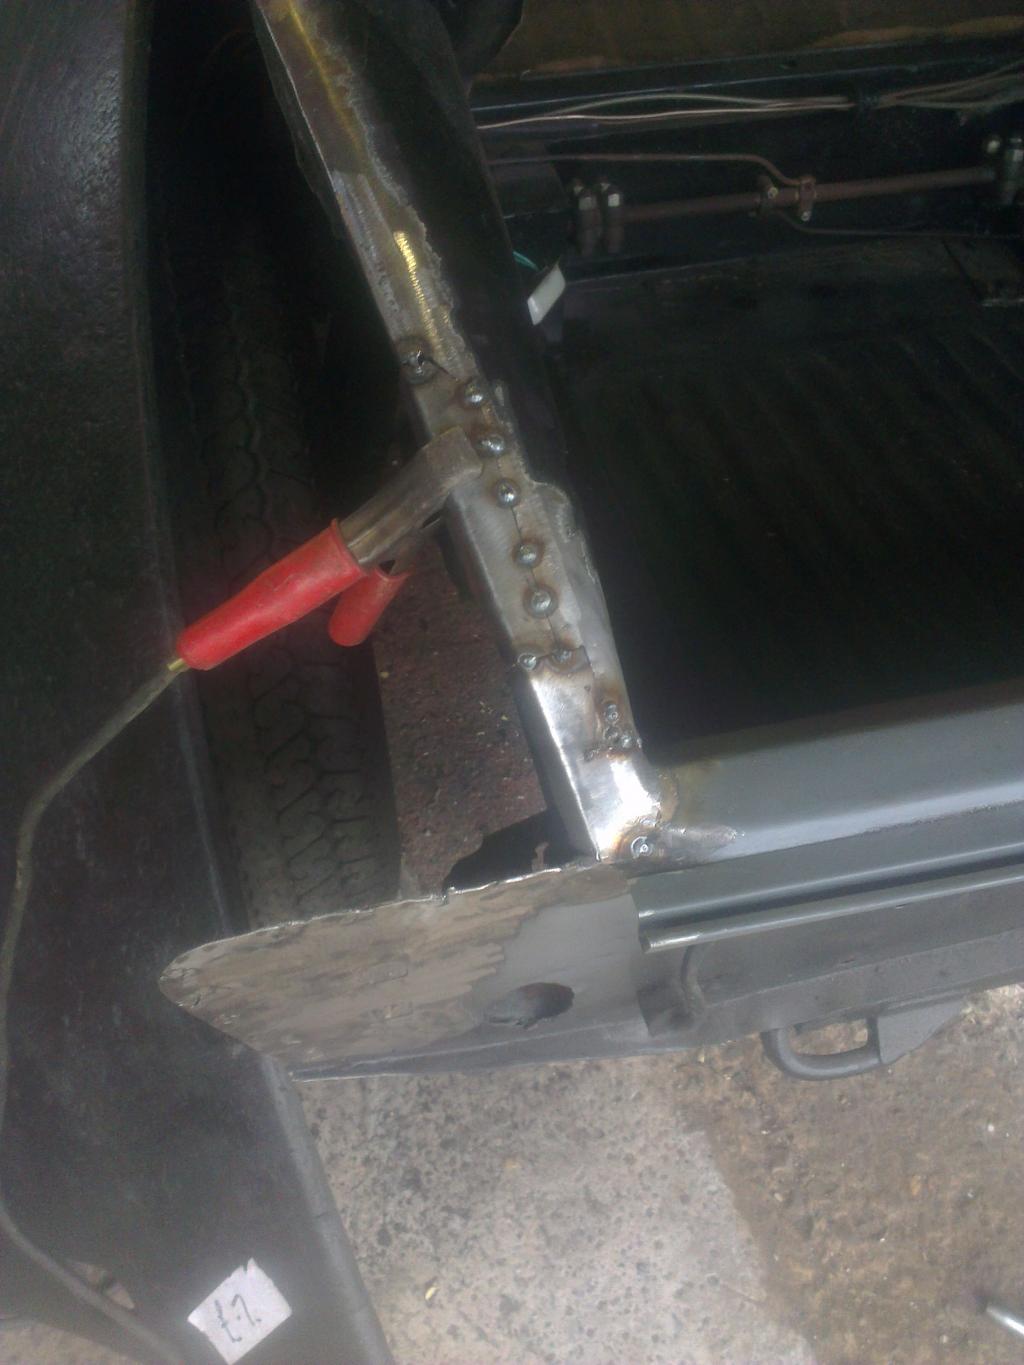
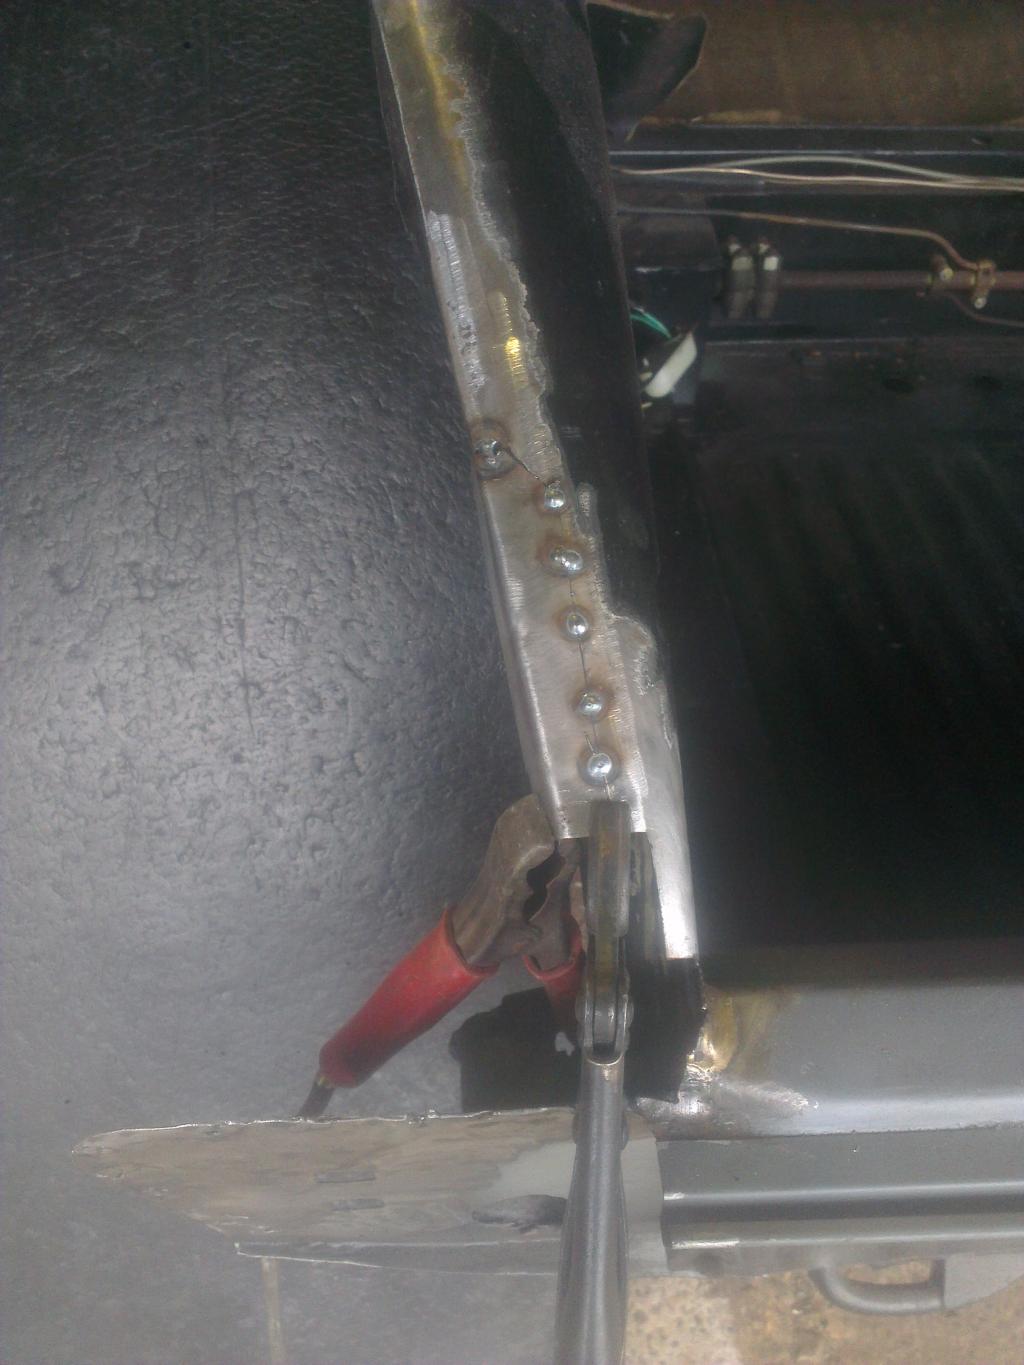
Next I needed to remake the rest of the inner wing flange, in sections. This photo just illustrates where I welded - I made up sections and butt welded them to the inner wing a piece at a time before smoothing the welds down.
With the rear flange and the inner c-pillar repaired I could close up the outer c-pillar where I had opened it up for repairs.
Here is the first piece of flange welded in place and smoothed down following the original contour of the parcel shelf.
Next I had to remake the flange that joins the inner wing to the rain gutters. I decided that it would be easiest to make this in sections. Here is the first area cut away ready for new metal.
Here is the rearmost repair section for the c-pillar in place.
This is the first section of new metal on the inner c-pillar. I also took the opportunity to strengthen the factory upper seatbelt mount point on the inner wing as it wasnt very well attached.
Next I will fabricate a repair section for the area closest to the rear door and then repair the outer c-pillar.
I cut a section out of the outer c-pillar and opened it up in order to gain access to the inner structure. After I have repaired the inner structure I will reweld the outer section to make the job complete.
The first job to do on the rear left is to repair the base of the upper c-pillar.
As I was welding around the rear screen I decided it better to remove it - it is only held in place by two bolts along the lower edge so takes 5 minutes to remove. It also gives me the chance to properly paint and seal the whole area.
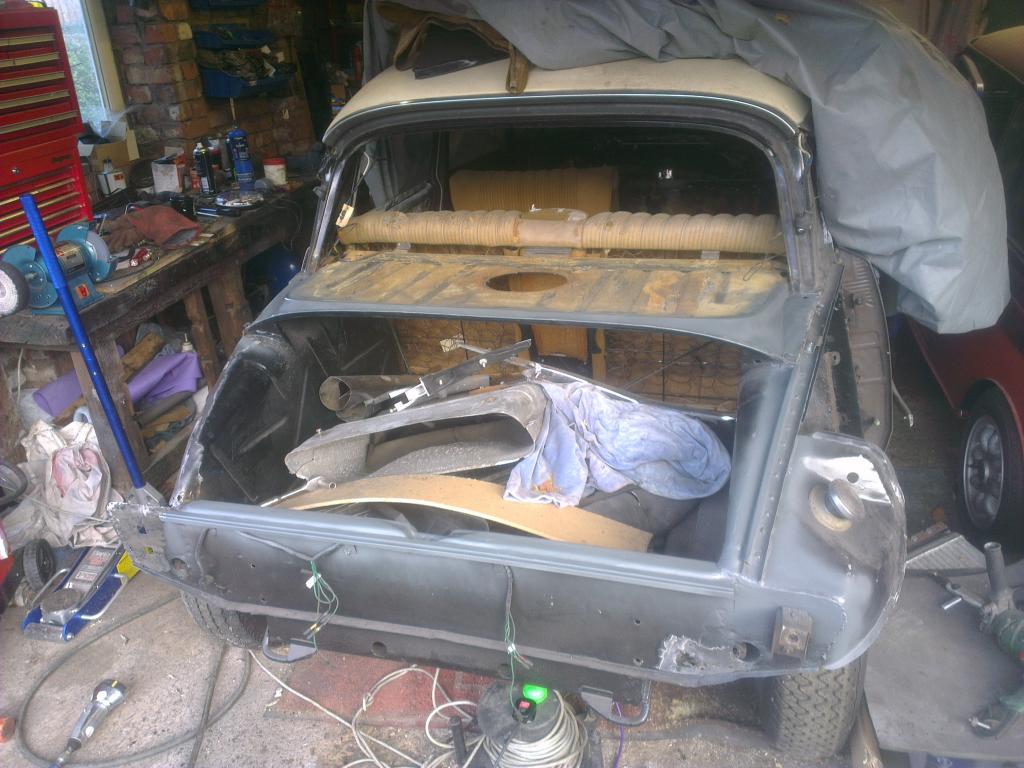
The rear left rain gutters and elephants ear have been removed here. I need to repair the rear panel, the inner wing edges, the upper c-post and then refit the rain gutters and elephants ear. That should be the next few weekends work...
This seemed like it was going to be a quick repair - just a small area needed replacing. Well how wrong I was! After inspecting the previous work I had done I decided to strip the entire rear left down and redo it.
The rear seal area repairs are now complete. Next I will tidy up the rear panel and make any repairs needed there and then seal and paint the whole area.
The welds on the rear seal holder have been ground down to make a tidy repair.
Next the replacement rear seal holder is plug welded into place.
The repairs to the boot aperture are now complete. It just needs a tiny skim of filler to hide the weld lines and then it will be ready for paint.
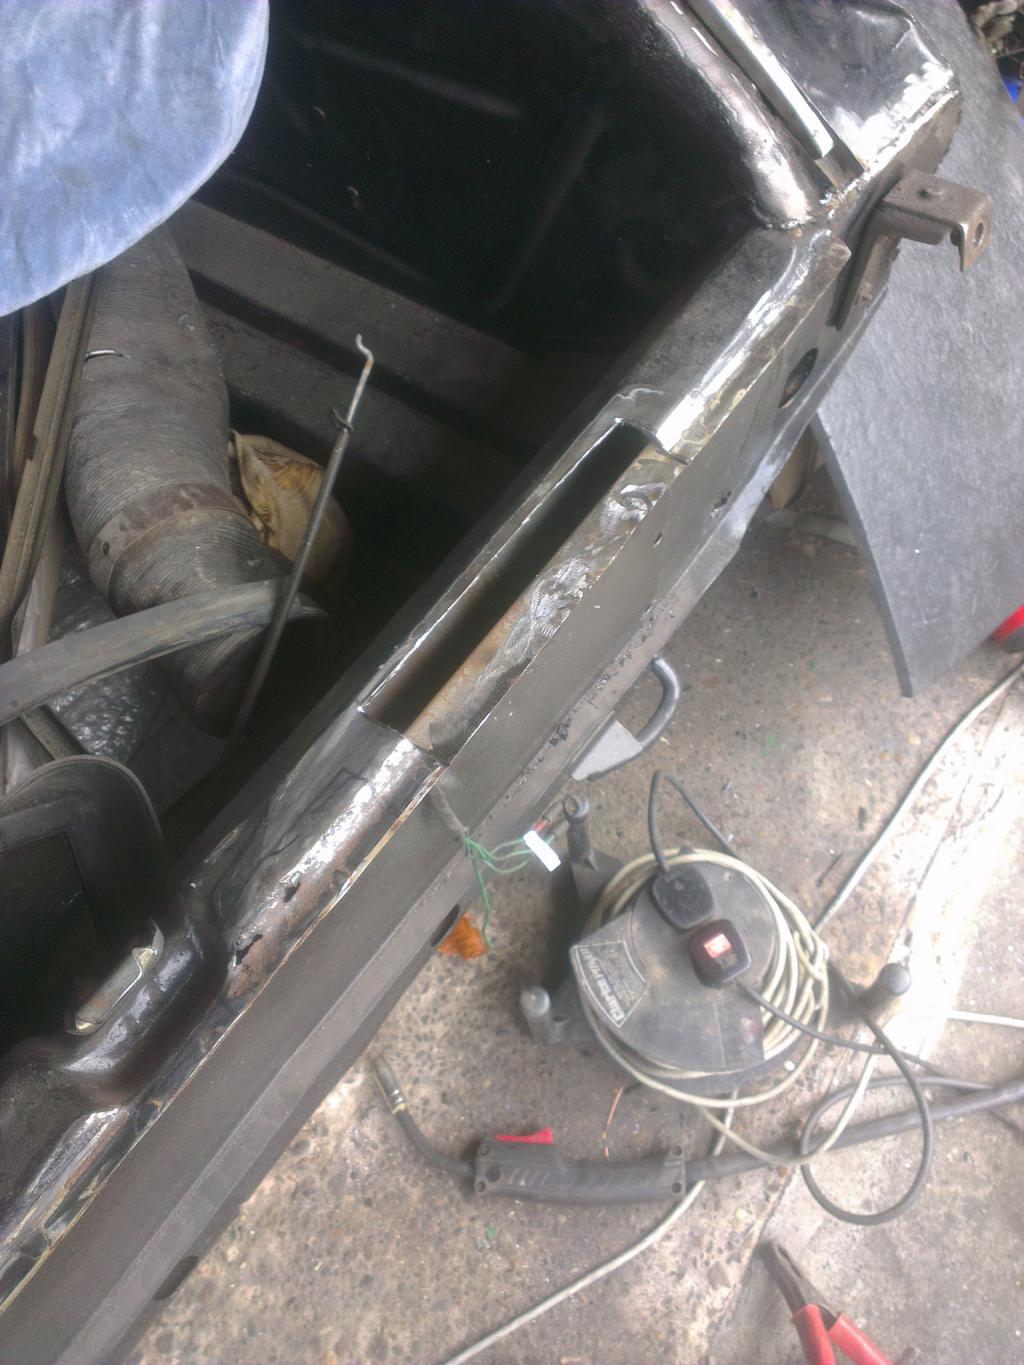
Rear panel repairs nearing completion. Unfortunately, the bit between the two repair sections also needs replacing - it was not as sound as I thought it was so that will be done next week.
Another rusty patch cut out of the rear panel. This is a tricky bit to fabricate due to the double curvatures.
The new metal is being butt welded in place. Once I have completed the welding I will smooth down the metal and the repair should be invisible. After I have finished the repairs to this panel I will add the new rear seal holder and then seal and paint the whole area.
This section of old metal has been cut out ready for a new section to be welded in place.
Here I have cut out the old rear seal holder in preparation for the repair of the rear panel.
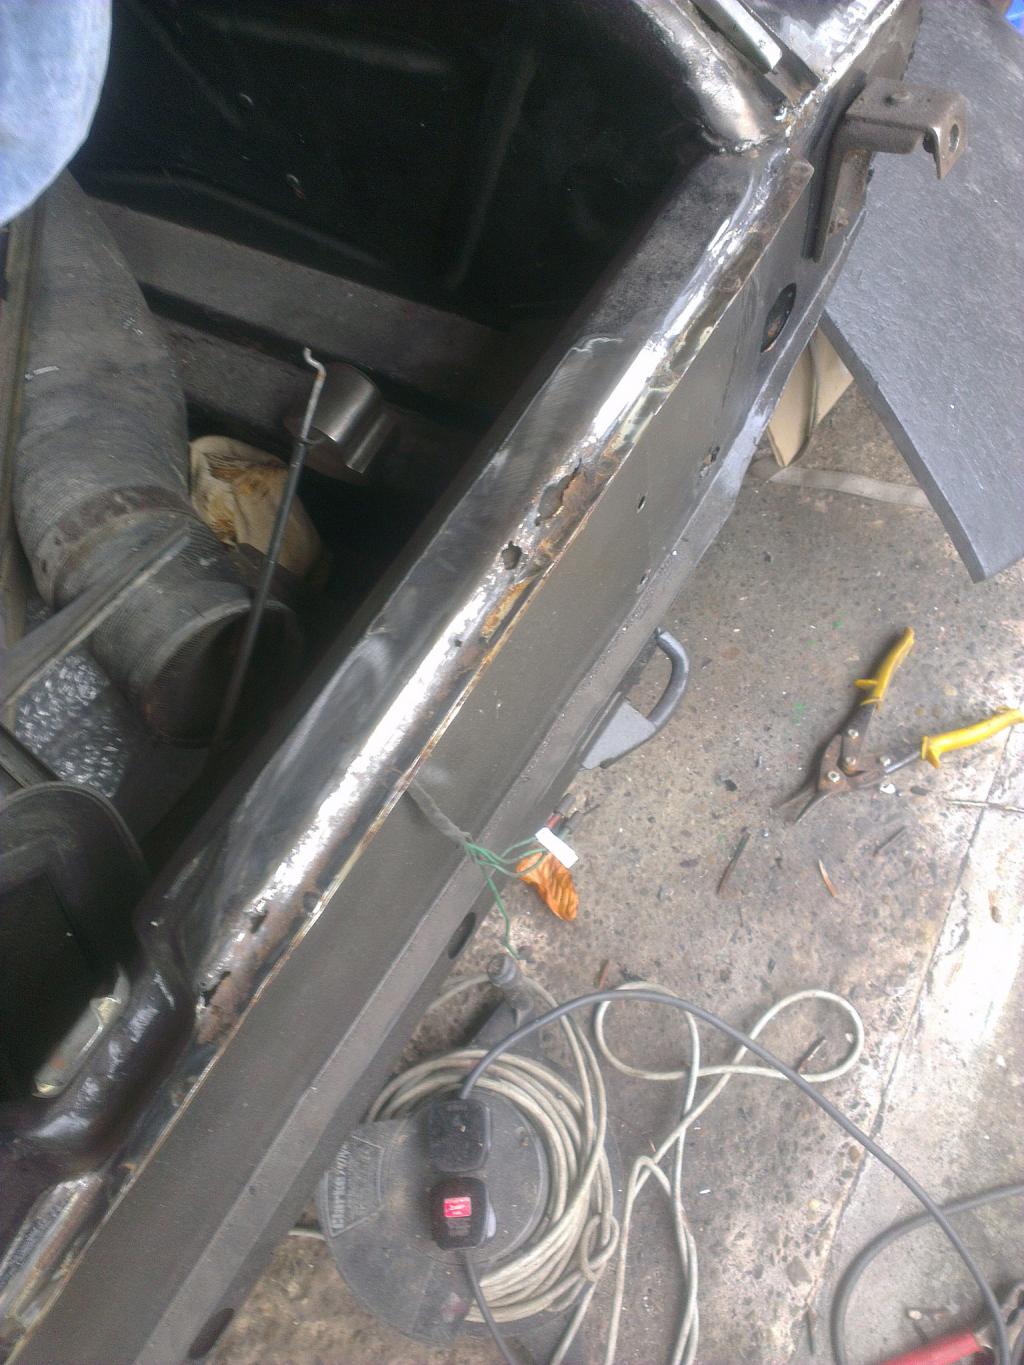
Whilst working on the rear it was apparent that the rear seal holder was completely shot and there were numerous rust holes in the rear panel. I am now going to repair all of that with new metal.
Here the new seal holder has been welded into place. Once I have finished all of the work on the rear I will smooth down the welds, seal and paint it all to a high standard.
One of the things about restoring a car over a long period of time is that you learn a lot about both the car and restoration in general.
When I look back over some of the work I have done I am really not happy with it, knowing what I know now. I can weld a lot better after 14 years practice!
The rear raingutters were a case in point, they were one of the first jobs I did and I really wasnt happy with them. Therefore, I decided to redo them to a much higher standard.
Here I have removed the rear seal holder and I have started to clean up the metal ready to reweld them.
The fuel filler neck was wire brushed and then re-painted black. I also cleaned the rubber grommet which is attached to the epaulette panel and polished the aluminium filler cap. All I have to do is fit it now!
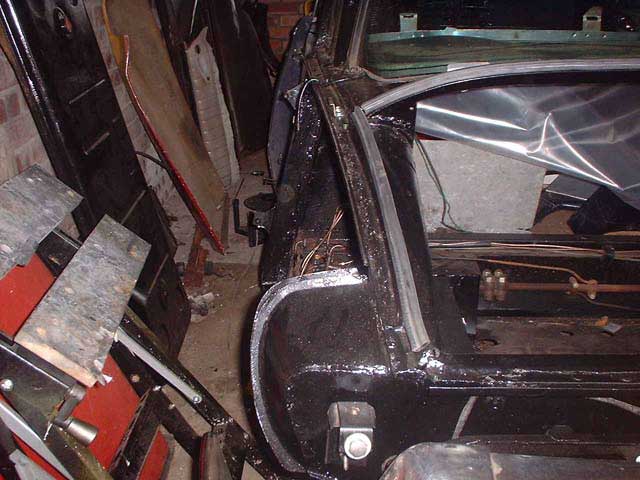
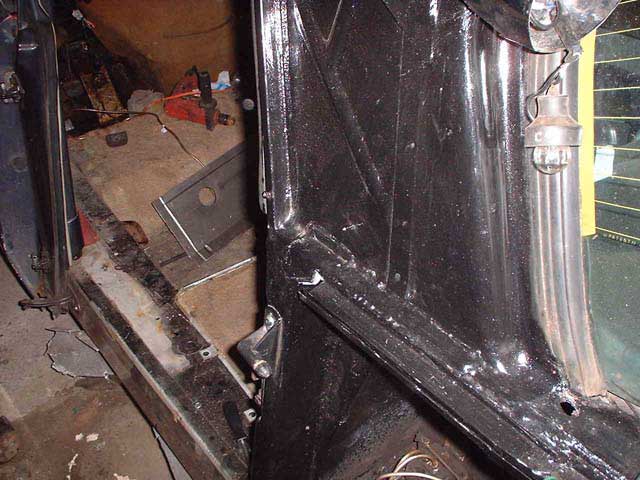
This is the right hand side epaulette panel, having been filly welded in place, primed, sealed and painted. The next step is to refit the fuel filler and breather equipment.
I bought a new righthand Epaulette (Elephants ear) panel from Centreville; this is the last item to be welded to the chassis before it is complete.
26th May 2002 - A major milestone was hit today - the chassis welding is finally finished! The floorpan has been repaired along both edges, the sills repaired and the holes in the inner sills welded. It's taken me the best part of two years to get this far, but I finally have a solid car!
All the welds have been seam sealed using brushable seam sealer and painted using chassis black. The next step is to fill the sills and box sections with Waxoyl and paint the floors with stone chip.

To repair the screen surround, I made up several short 'U' shaped channel sections, and welded them in place, one by one. The welds were then ground down, and the seams sealed.
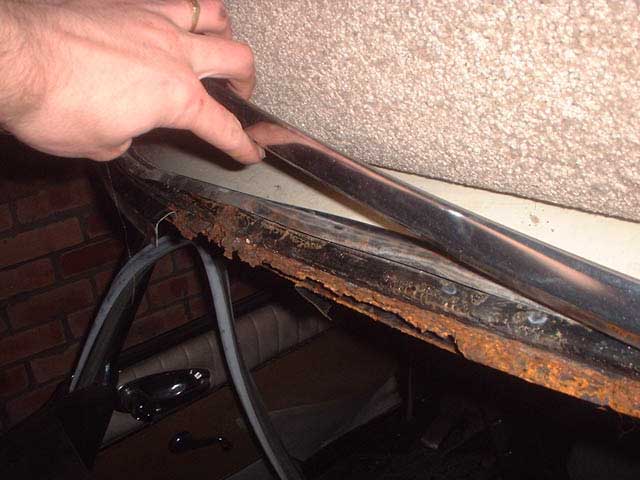
The roof on Deese's is bolted and/or bonded onto the superstructure, as it is (usually) made of fibreglass. This leads to one of the biggest problems on the D series - rotten roof rails, as water seaps past the roof seals and sits rotting the metal underneath them. My car has not escaped this, as this picture shows. Believe me, this is NOT what you want to find on a Deese!! I knew mine was rusted along the top of the screen aperture, and this has certainly confirmed this. Hopefully I'll just be able to clean the old stuff away and weld a new strip of metal along the top of the screen, then POR15 it to make sure it won't rot again!
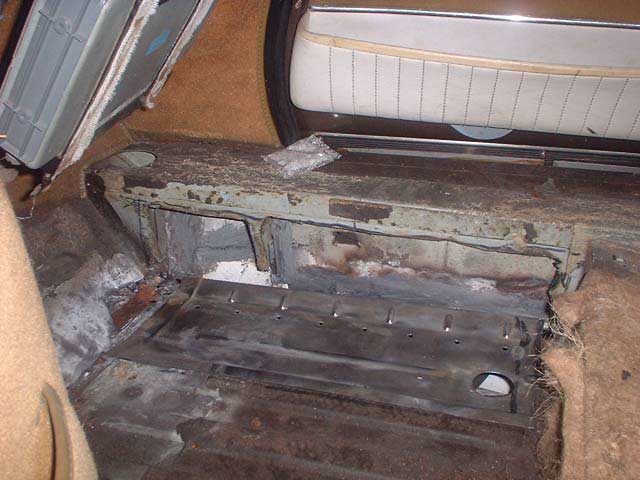
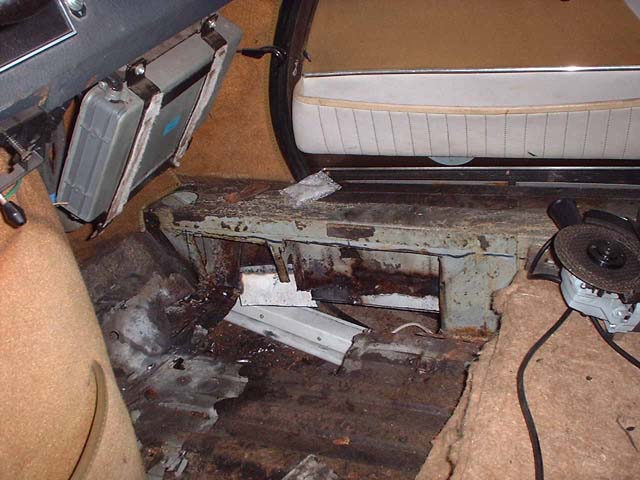
Here I'm holding a piece of the floor - you can see that on the Pallas the floor is double-skinned at the front; this creates a perfect moisture trap between the panels, which of course rust. (And this is luxury?!?!)
Here is the same sill with a repair section let in. The holes drilled along the bottom edge are used for plug-welding the sill to the floorpan lip; you can see that I have plug welded the holes to the first foot of floor, which has also been replaced. I'm now busy replacing the rest of the floor.

This is the drivers side 'middle' sill, which you can see is quite bad. It actually looked OK when I began, but the metal was so thin that replacing it was the only option.

This is the drivers side floorpan, which has rusted along 50% of its length. The blue paint marks the metal to be replaced.
This is the same shot from a different angle. Once this metal is in place I'll paint / prime it with POR 15, then try to figure out a way of replicating the original Pallas double skin! I also have to make up a new inner sill, though this is just a case of folding a sheet of steel and seaming it in place.
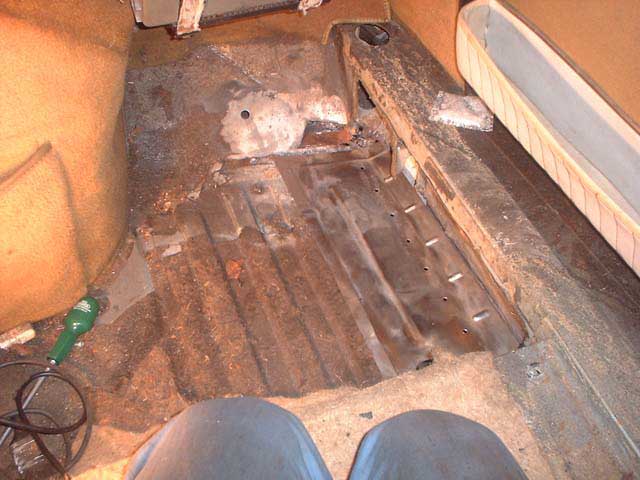
This is the new lower floorpan almost ready to be welded. I just have to clean the existing stuff up a bit and trim the edges.
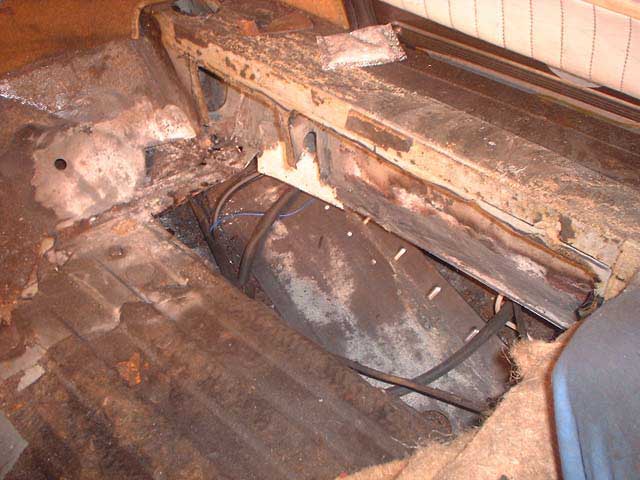
I've finished cutting the old floorpan and sill away now, it's left a mighty big hole in the car! I've made sure I've kept the passenger door shut during all of this, to give the body a little extra strength whilst the floor is gone.
You can see that I have also seam-sealed the joins in the outer sill on the inside - this obviously has to be done on any welded seam to stop moisture creeping between the panels and rotting them. I'll paint this inner sill with POR 15 when the seam-sealer has gone off.
The lower sections of the middle sills were quite rusty in places,so I had to remove them and replace the rusty bits. (That pile of rust underneath the car used to be the floopan!)
I've cut some more of the floorpan away here, and some of the sill. Soon it will be ready to add the new metal. You'll notice that I haven't removed all of the interior - that's because I'm going to scrap it and replace it with new red velour, so I'm not too bothered about it getting damaged.

The passenger side footwell was quite rusty on my car - here you can see I have cut out a lot of the metal, though there is still lots to do. I plan on replacing half of the floorpan here, the inner sill, and some of the outer sill. You can see that I have cut a hole in the back panel - this was to assess the condition of the metal in the box section, which turned out to be fine, although I sprayed rust convertor and zinc coating in there just to be safe!

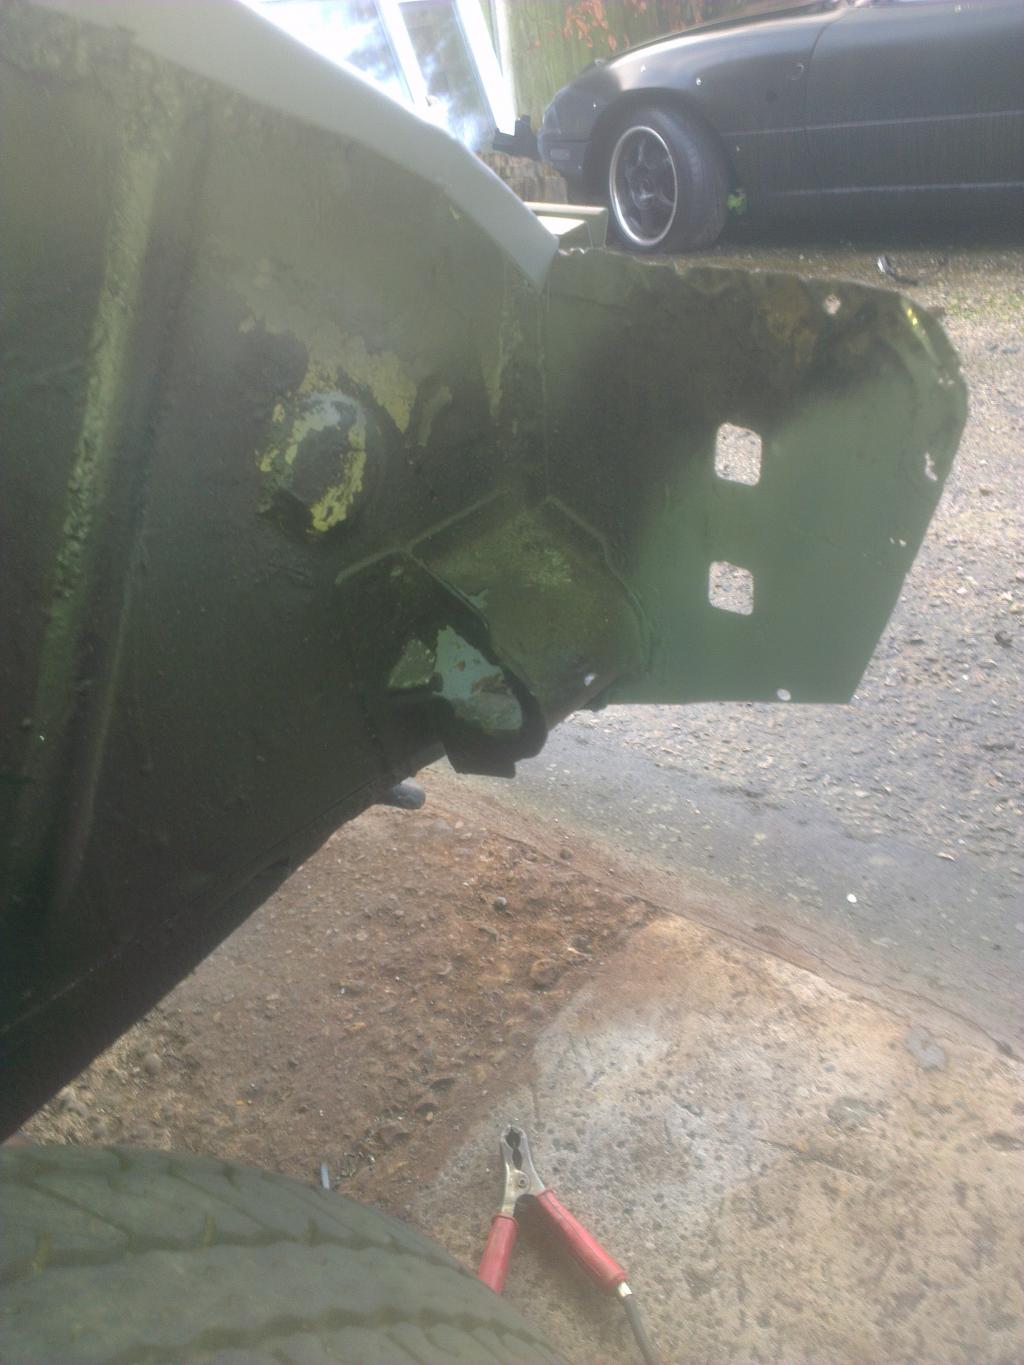
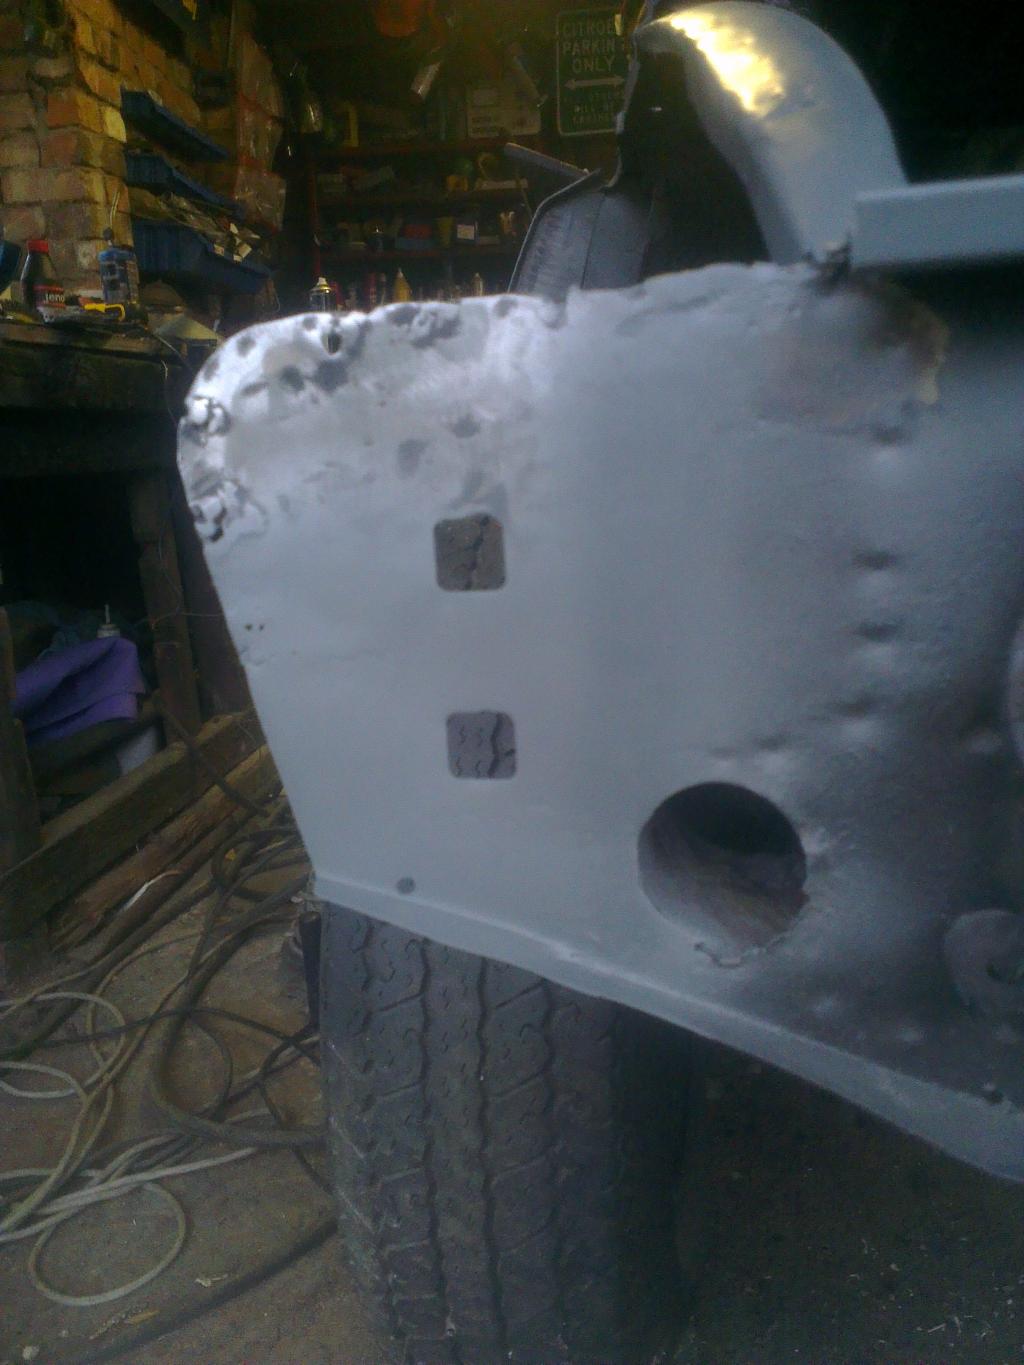
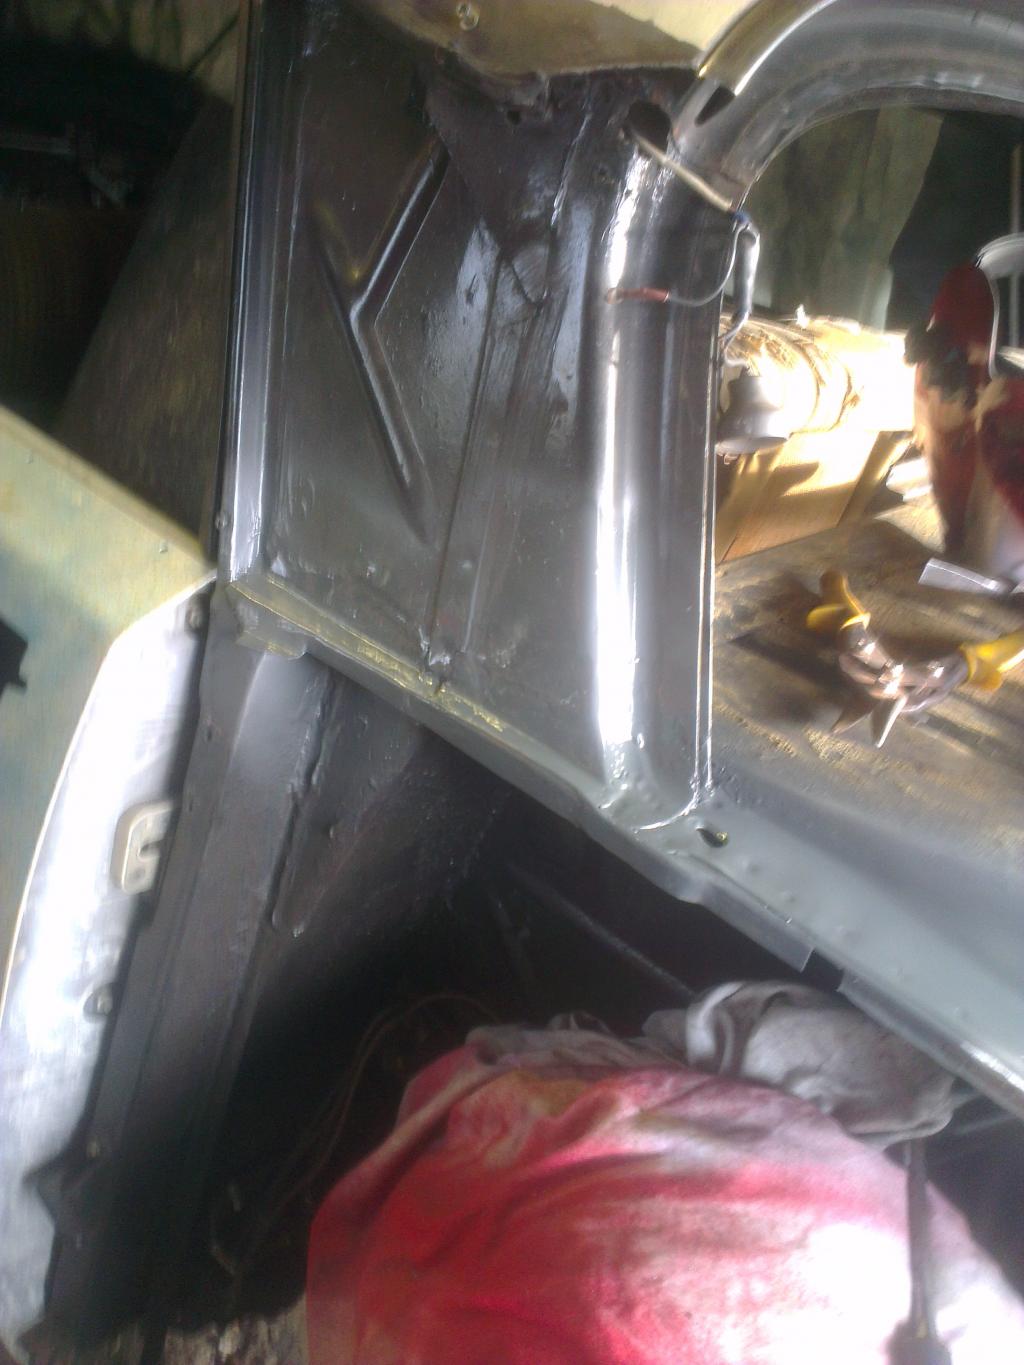
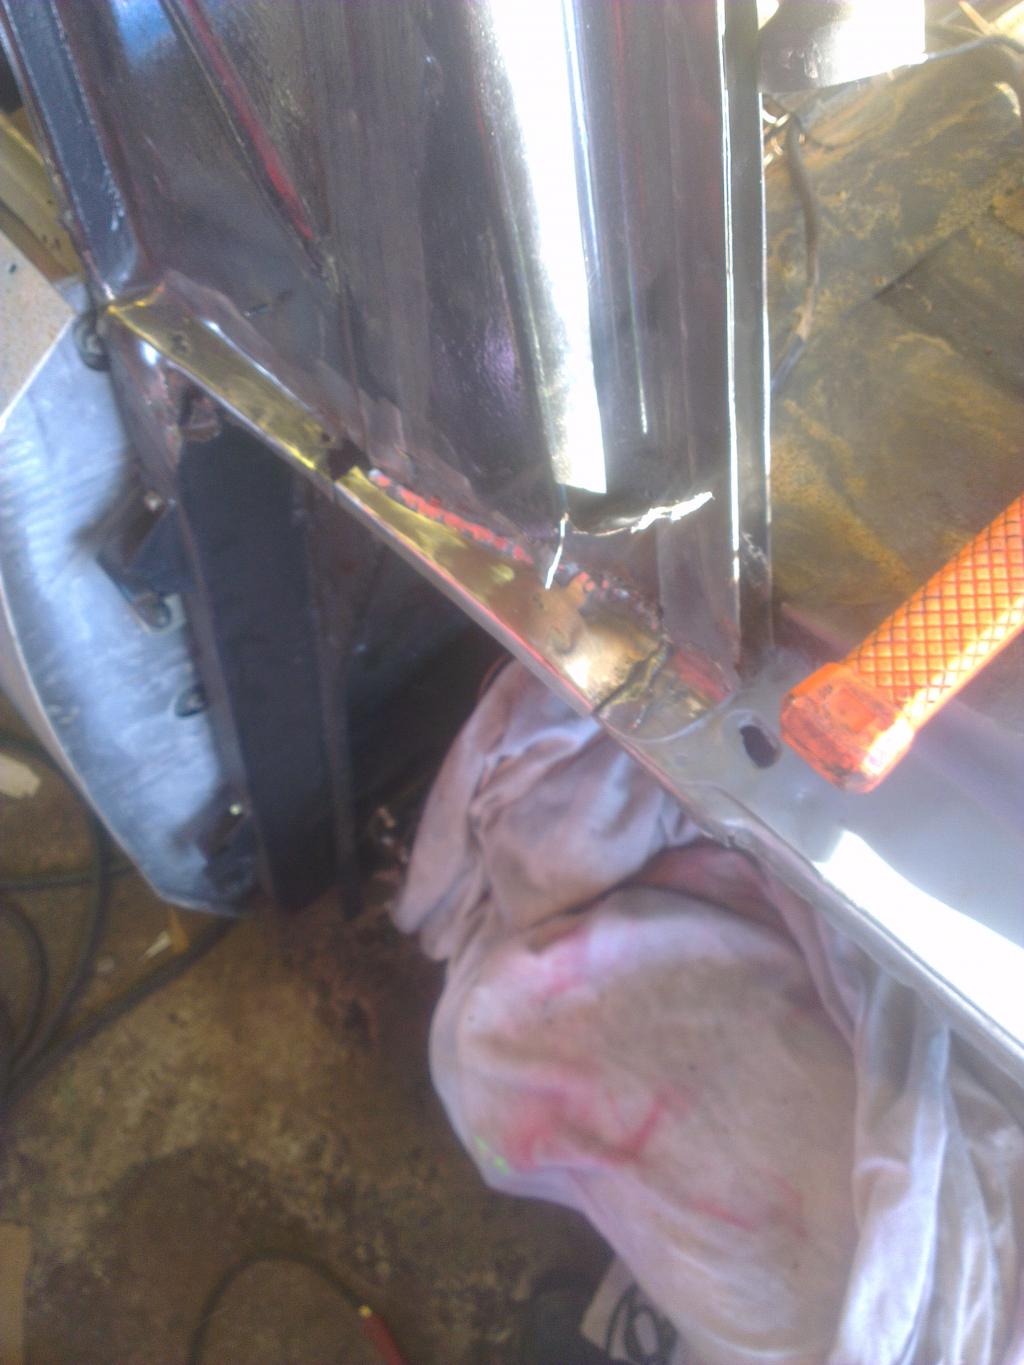
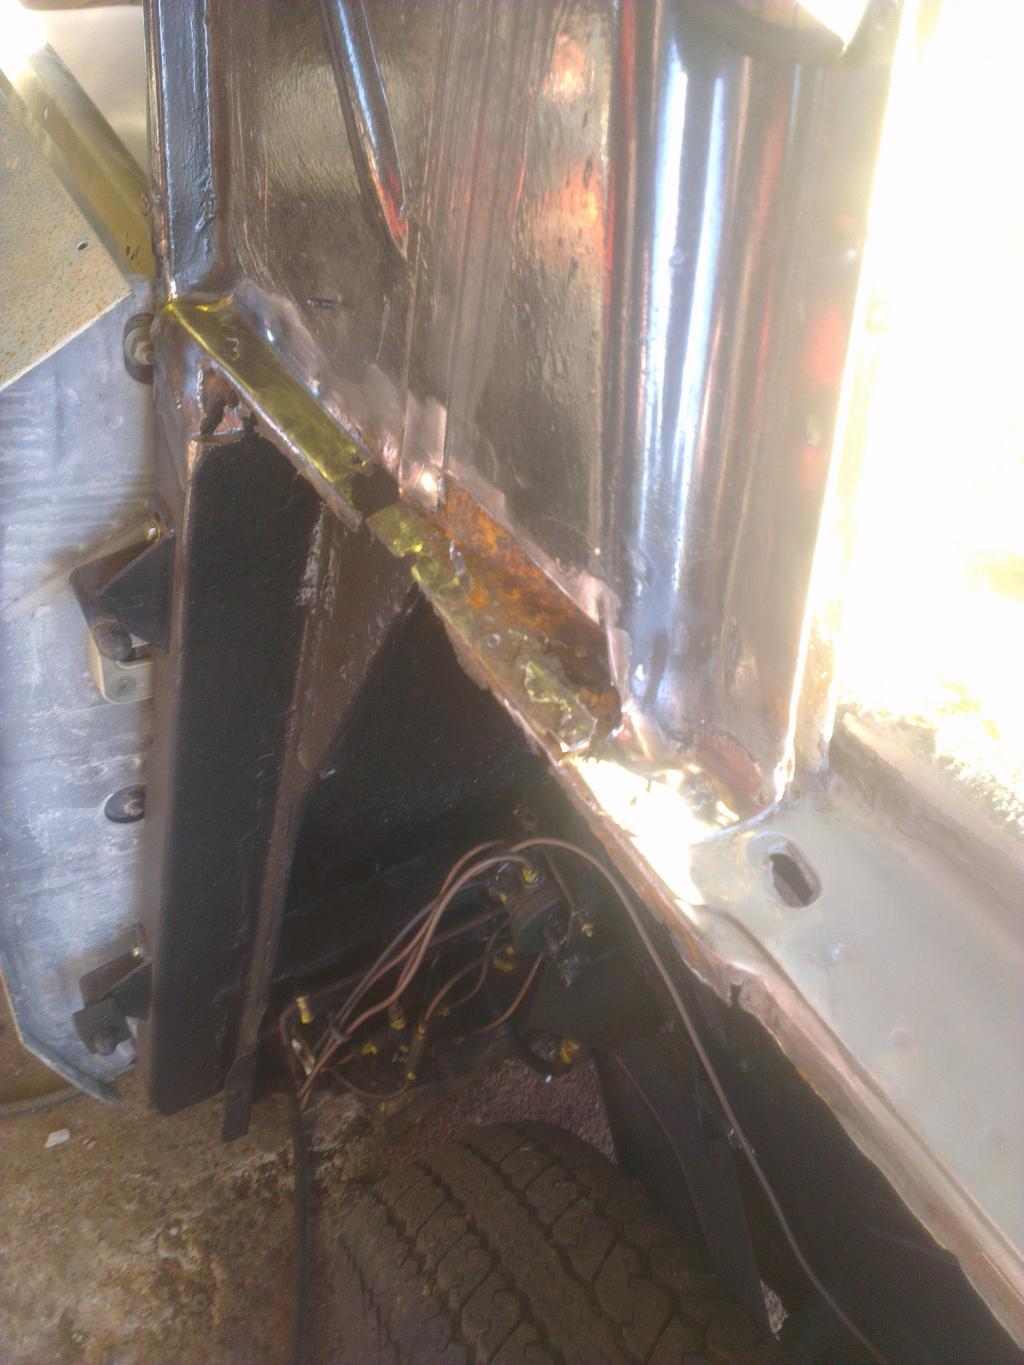
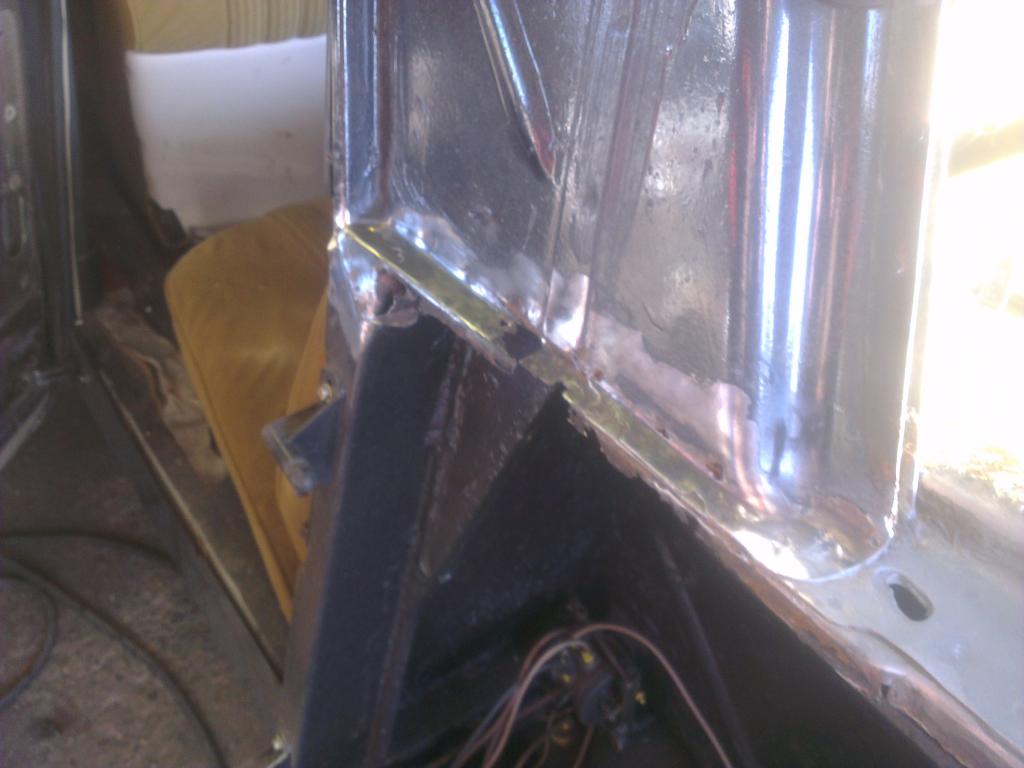
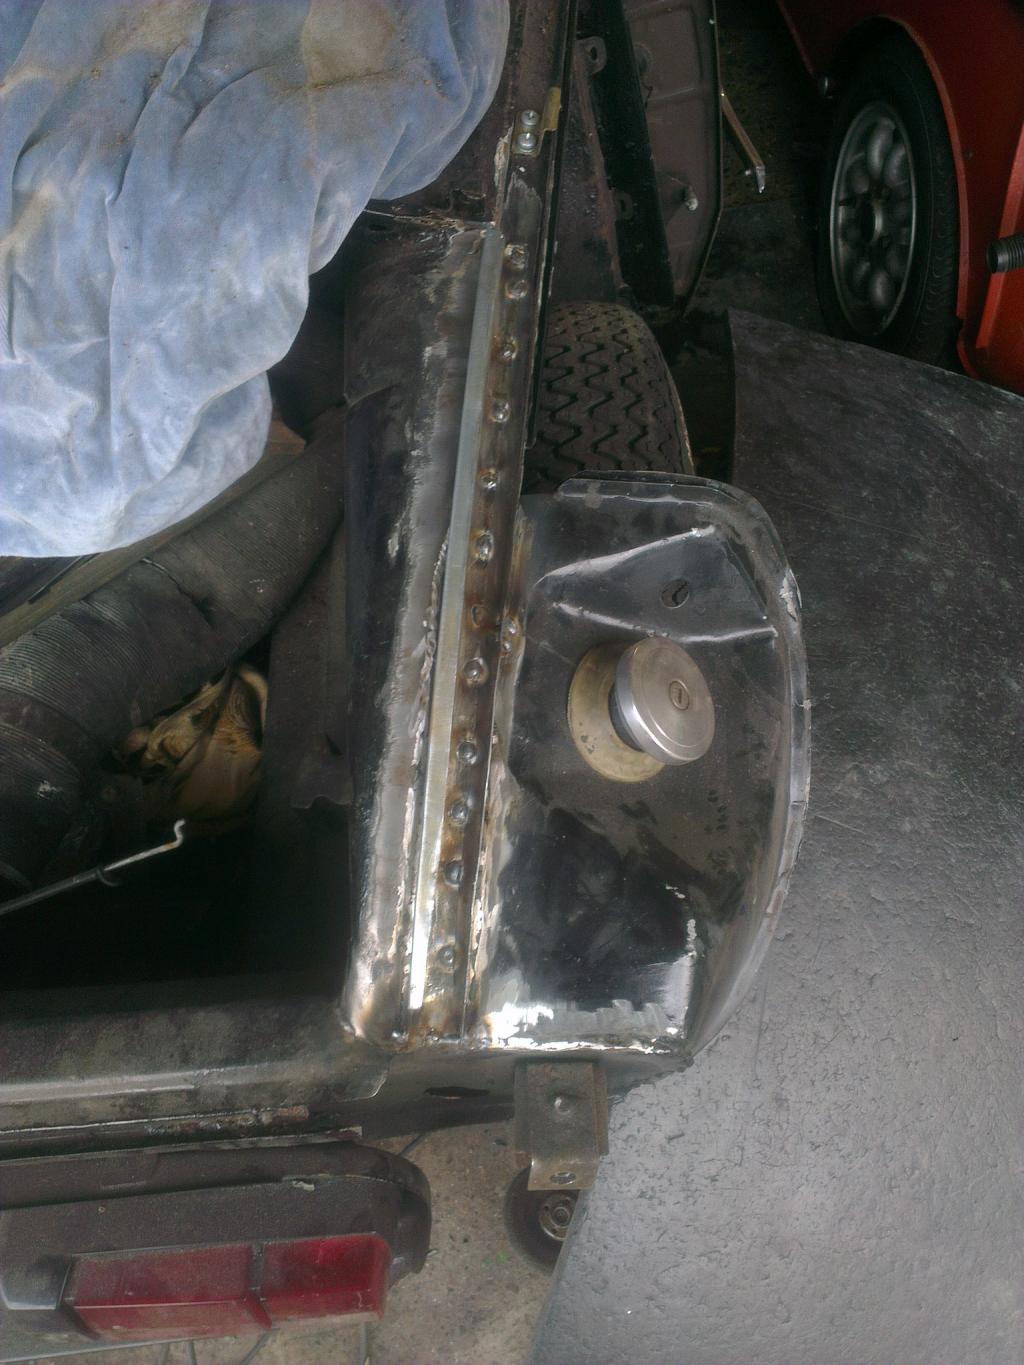
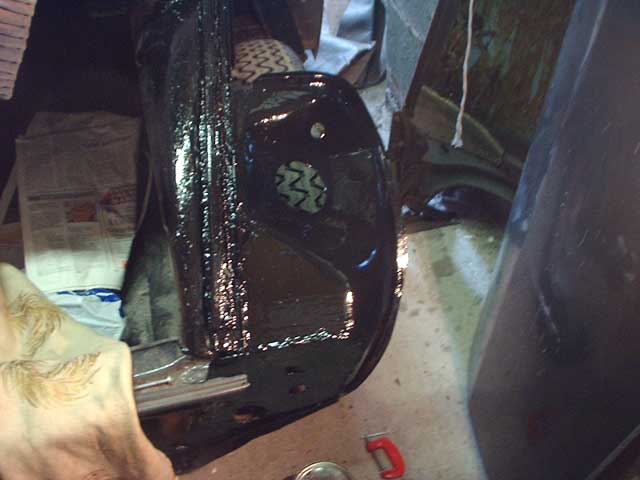
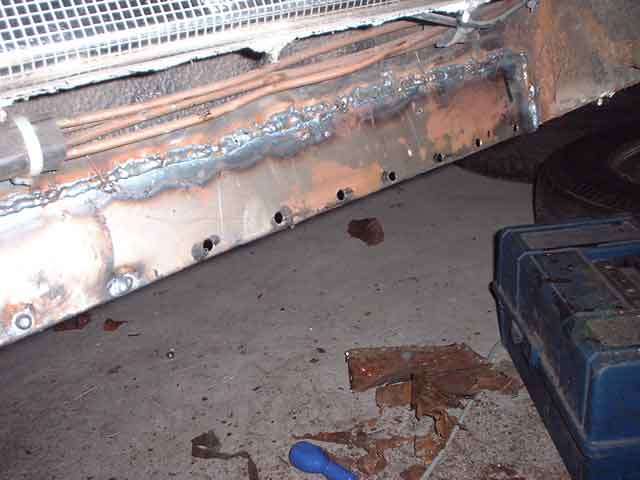
The rear right bumper mount had turned to dust on my car, so I decided to make a new one out of sheet steel. This picture shows the result, which looked very good before I covered it in seam sealer!! (But at least that should keep the moisture out of the joints this time ;-)) I also had the repair the metal behind the mounting, which you can almost make out in this picture. You can see that I have removed the elephants ear on this side; a new one will be added soon.
This is the rear left 'elephants ear' which was completely rotten. I have replaced this and the rain gutters and boot aperture with new panels. I have also fitted new non-original boot seals, which should perform better than the Citroen originals, which were notoriously bad.
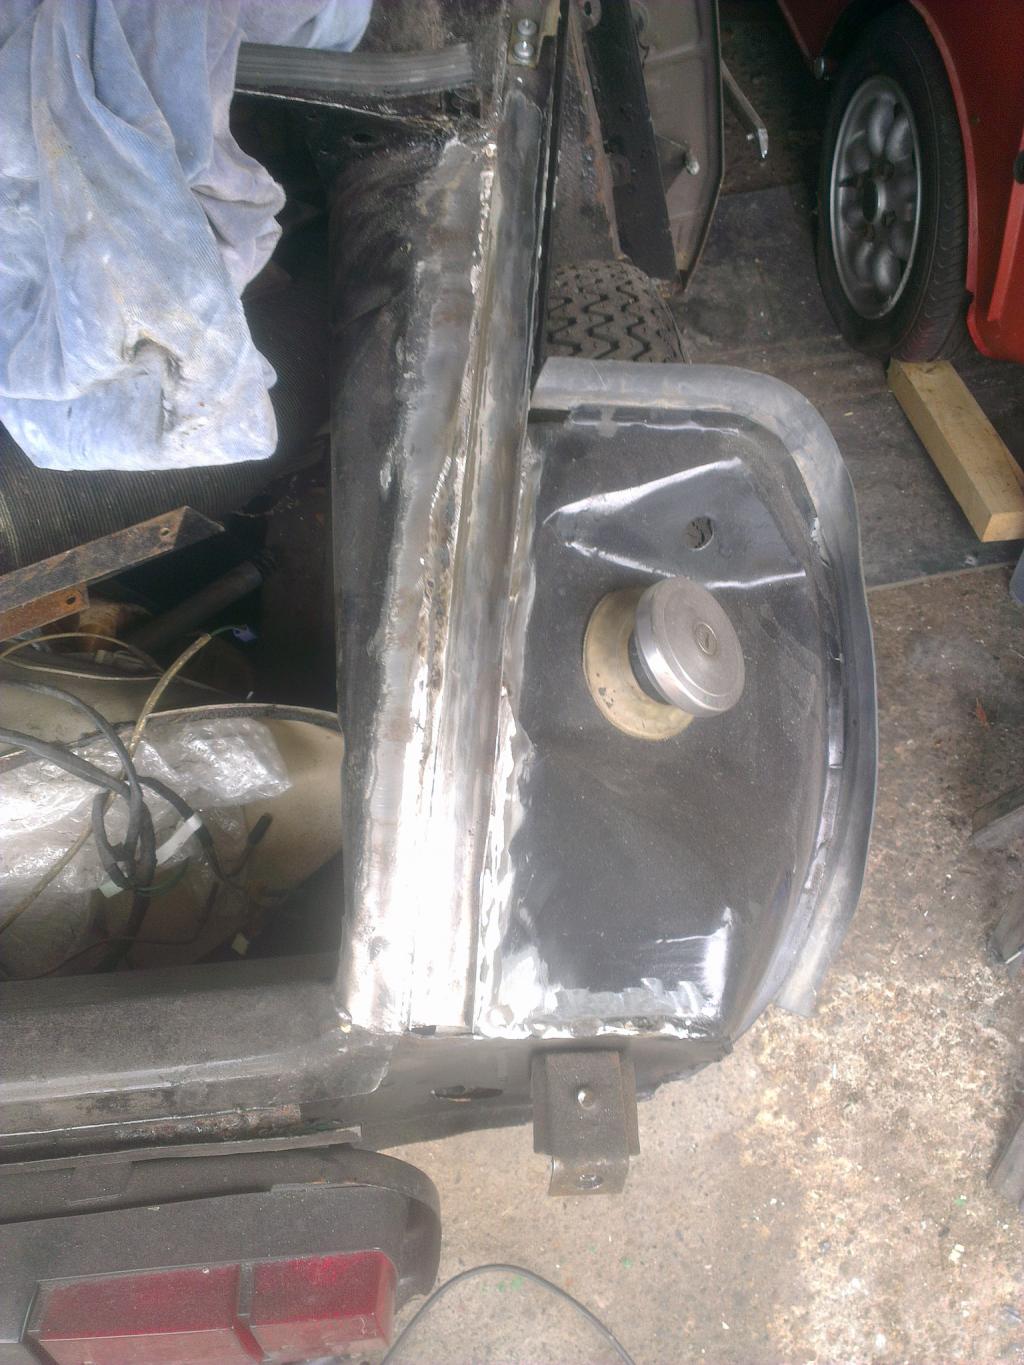
This is the same part on the left hand side. I had to do exactly the same work on both sides.

Here I have repaired the right C pillar base, and have replaced the rear rain gutters. The whole lot was rotten, so was cut out and replaced with new metal. I've primed, seam-sealed and painted this bit, so it can be considered finished!
Andy Todd all images and text ©citroen-restoration and may not be reused without permission