engine
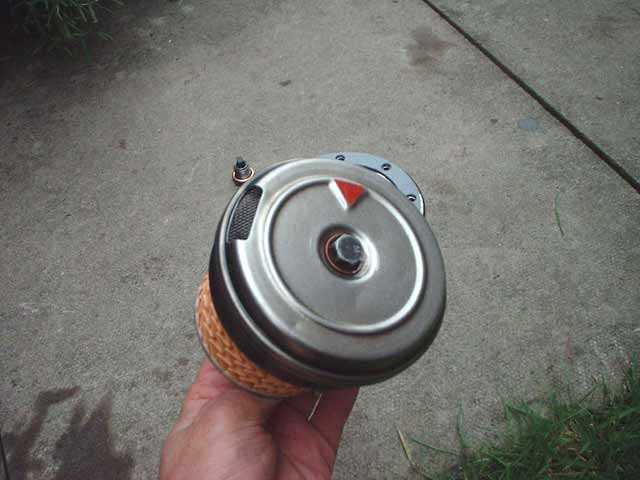
On the bottom of the oil filter retaining plate there is a red arrow, as shown here. It is vitally important that this is aligned with the identical arrow on the bottom of the sump when you refit it; this allows correct flow of oil through the engine. For reference, the arrows do not "point" at each other - they are aligned so that they are both pointing in the same direction.
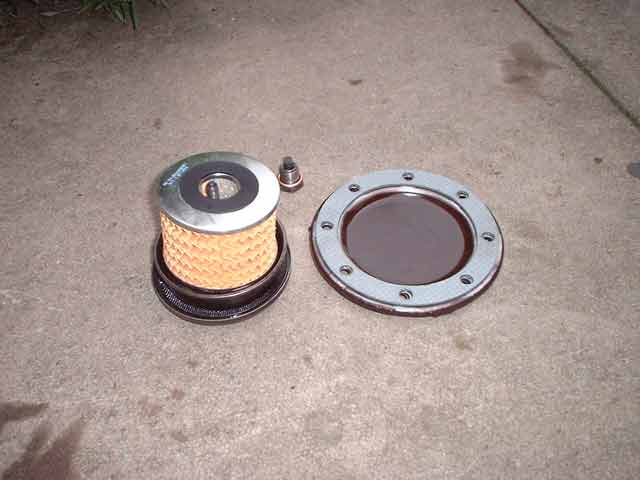
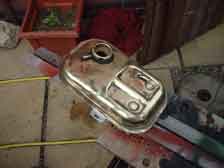
Changing the oil on a DS is slightly more involved than on a normal car. The oil filter is an internal unit held in place behind a screen and a plate, which in turn are behind a cover plate on the bottom of the sump.
I took it all out and cleaned it all, then fitted a new gasket and oil filter, as well as replacing the copper washer on the sump drain plug.
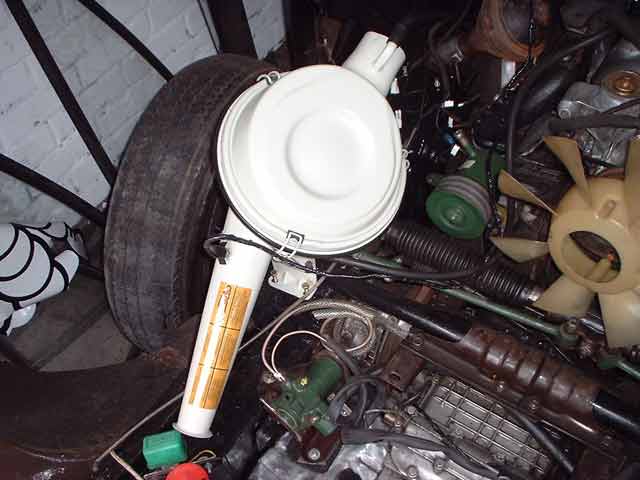
I finally finished the airfilter; it was resprayed in light grey, and I fitted a new maintenance sticker to it. You can download a copy of this sticker from the downloads area of this site.
I purchased a new air intake tube from Chyparse whilst in Utrecht this year, and this was also fitted.
Whilst fitting this, I decided to take the opportunity to clean all of the injection air hoses; I washed them and then used silicon spray (actually it was some stuff I have for polishing riding boots for Horse showing!) to bring them up to a nice shine.
You may also notice that I have replaced all of the mounting bolts using the correct yellow plated set-screws. These were first smeared with copper grease to make them easier to remove in future.

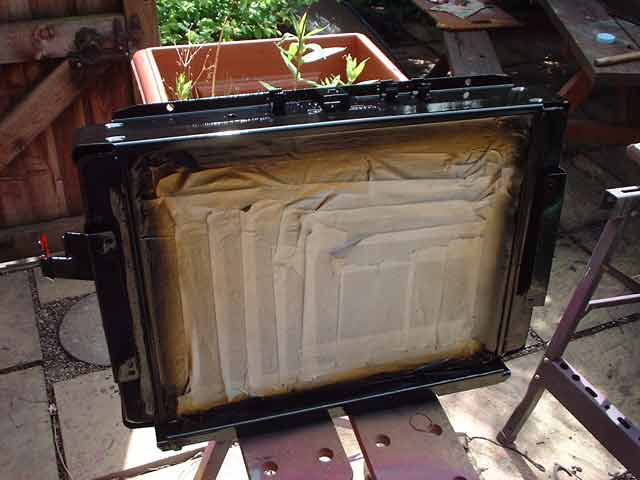
Here I have just repainted the radiator using Plasticote black, which is supposed to be safe up to 150 degress....
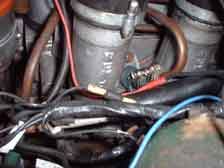
The new injector arrived and I have now fitted it. Primed everything up again and checked for leaks. Everything was dry this time, thank goodness!.
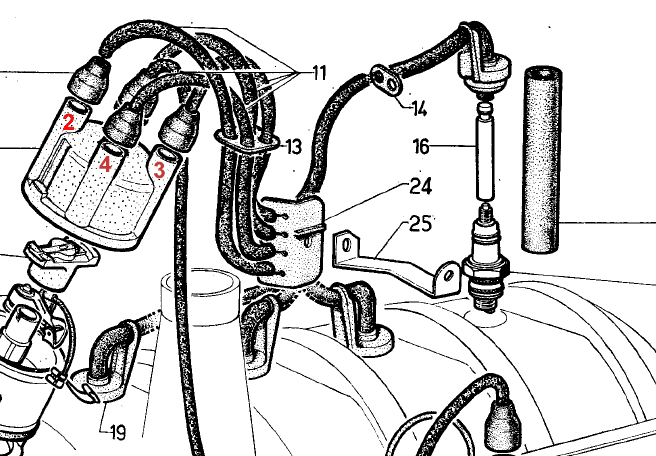
After the backfire I came to the conclusion that I must have either a) Installed the dizzy backwards, or b) connected the plug leads incorrectly. In order to be safe, I decided to check everything:
- Distributor
I set the engine with No1 clinder at TDC. To do this, remove No1 spark plug and put a length of thin dowel down the hole so that it is resting on the top of the piston. Next, jack up the front of the car, engage 4th/5th gear and rotate the engine by means of the left hand front roadwheel. The engine is at TDC when the dowel is at it's top point and has stopped moving, and when both valves for the cylinder are closed. With the engine at TDC the rotor arm shoul be pointing at No1 HT lead, and be at 45 degrees to the camshaft.
- Valve clearances
Valve clearances should be set as per the manuals specs, which I can't remember off the top of my head!
- Static Timing
On my 1972 DS, the timing should be set at 12 degrees BTDC. This can be accomplished by inserting a 6mm pin into the timing hole on the flywheel, and rotating the engine until the pin engages with the hole in the flywheel. This is the correct firing point, so once you have this you need to turn the ignition on (dont start it!!) and connect a test lamp between the ignition condensor and the coil. Now rotate the distributor until the light just comes on.
- HT Leads
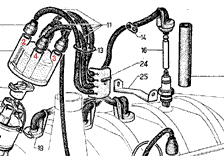
The firing order of a DS is 1,3,4,2. If you're standing in front of the car, No1 plug lead connects at the back-left (from your current viewpoint) terminal of the cap. If you have set your dizzy correctly, you should have the rotor arm pointing towards the right hand front seat of the car at TDC, so connect No1 plug leads to the terminal it is pointing at. The picture show a diagram. Mine were completely wrong - hence the backfire! (Phew!)
After speaking to
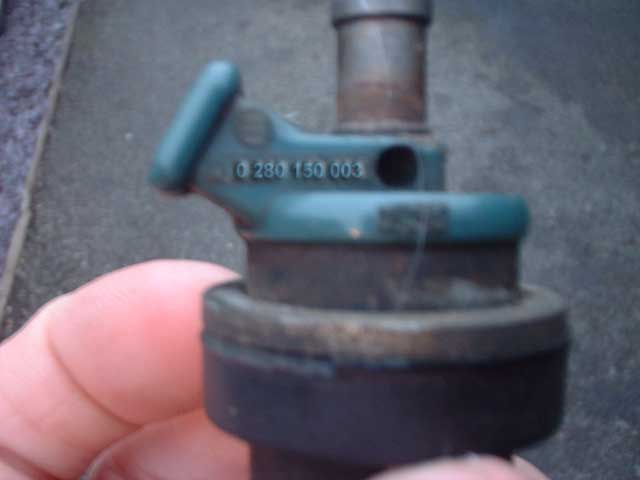
Stuart at Brodie Engineering, I remembered that there was a known fault with certain types of injectors fitted to the DS and SM which causes them to leak.
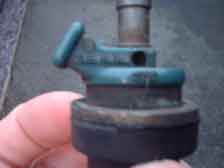
Injectors with the part number 0 280 150 003 are bad. They were replaced with Bosch injectors 0 280 150 043. I've retouched this photo to show the part number.
Since I had a leak from one of my injectors I pulled it out to check which one was fitted; you guessed it - the bad type.
New injectors are £90+Vat new, so pretty expensive!
Brodie Engineering can supply used ones at £40+VAT so I'm about to order one of those. I'm then going to remove the rest of the injectors and check them over and replace as neccesary...
The timing scale on my car was corroded too much to be of any use, so I measured it up and made a new one (available for download from the Downloads section).
2nd March 2003 - This weekend was to be the big firing up of the engine!
I installed the ignition system, set the points gap and roughly set the timing, then checked that I had a spark. Check - good sparks.
Next I plumbed the fuel system into a small tank via a filter and primed the pump and injectors. Checked for leaks and there were none, so far so good!
With no leaks I decided to try to start her... turned the engine over, and over and over, nothing yet. At this point I decided to check for fuel leaks again. Found one, No1 injector was dripping a little, which seems to be because of a failed ring bush seal, so I've ordered a new set from Brodies.
Having come this far, I checked that the injectors were pulsing, and they were so I tried again.. The engine turned and turned and turned and then suddenly BANG!
At first I thought the engine had exploded, but on further examination it seems that it had just backfired, blowing the inlet bananas off into the bargain!
So this weeks jobs are:
- Set the timing to be spot on
- Check the installation of the distributor
- Check the wiring of the HT leads
- Fit new injector seals
And then start her up! We have fuel and sparks, so it's just a case of getting them to happen at the right time...
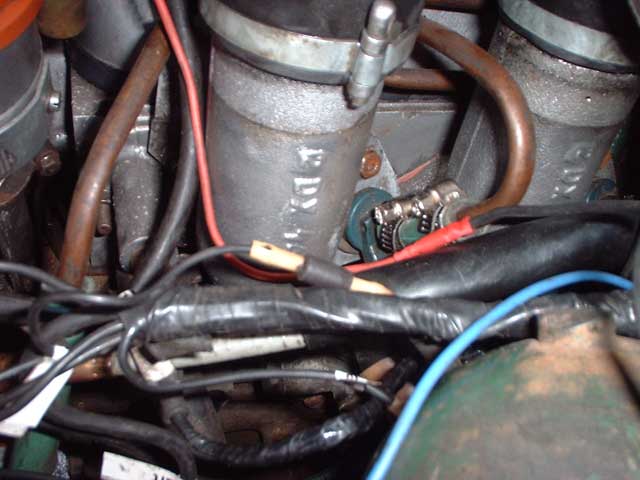
(The picture shows the leaking injector, though you can't see it)

I decided that welding the canister back together wasn't a great idea, so after reading instructions on Jint Nijmans site, I let the seal hold the canister together, which works well. (Thanks Jint!)
This is now stored ready to be refitted to the re-painted air filter housing! (What's this? Progress in the Winter?!?!)

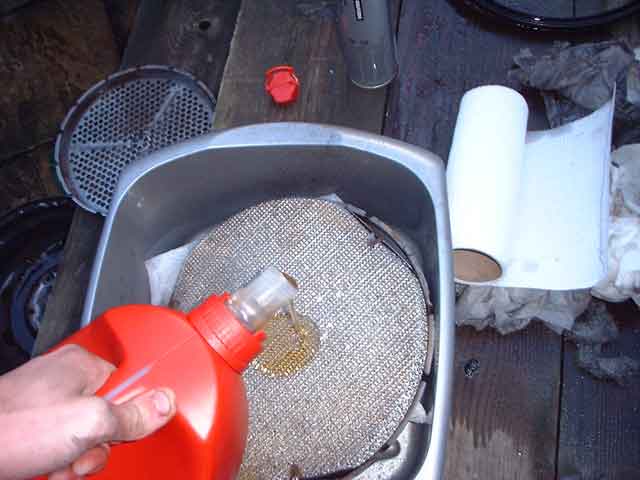
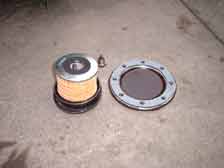
After cleaning the metal end sections of the canister, I refitted all of the gauze elements, and oiled the filter using clean engine oil, as per the manufacturers directions.
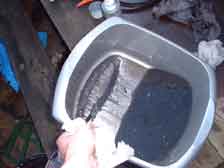
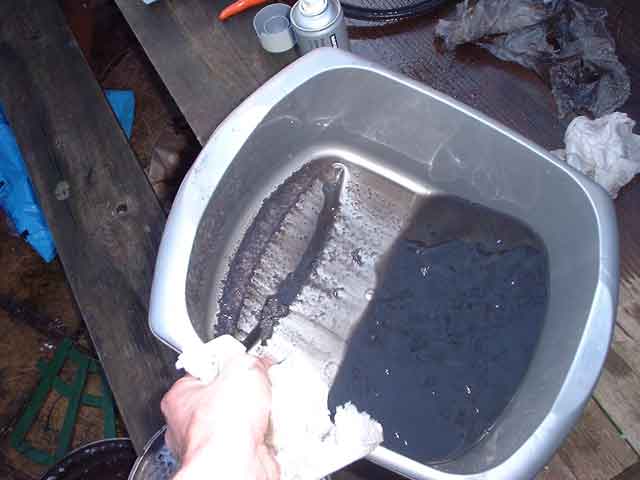
This is the state of the white spirit after cleaning the elements - looks like they were in dire need of cleaning!
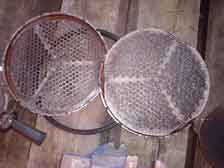
Next, I removed each of the metal gauzes which comprise the air filter, and cleaned each one in white spirit.
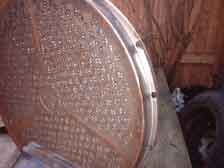
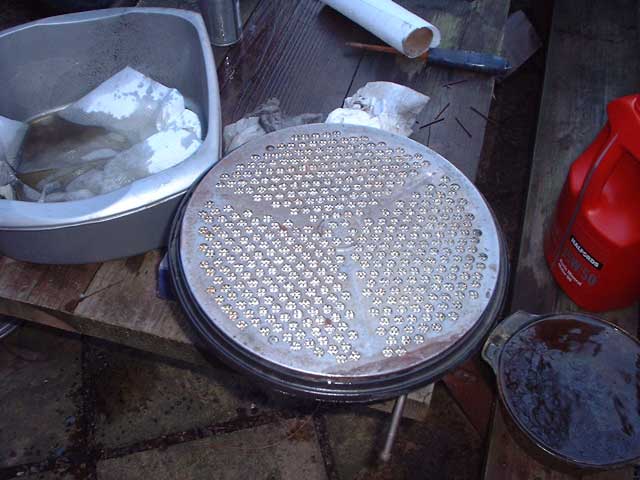
I decided that since the air filter had been in the car since 1972, it could probably do with a thorough clean! (The 1973 DS has a non-disposable metal oil-bath air filter).
In order to clean it properly, I removed the rubber seal, and then groundaway the spot welds holding the canister together.

15 th September 2002 - I decided to pull the car out of the garage today, and waxoyl the rebuilt sills. I drilled holes in the horizontal sills and pumped the wax in there until it flowed out of the drain holes. I also painted the wishboes and cleaned and greased the suspension links. These had obviously been regularly greased, but never cleaned out - I found a lump of grease the size of a tennis ball behind the mudguards!
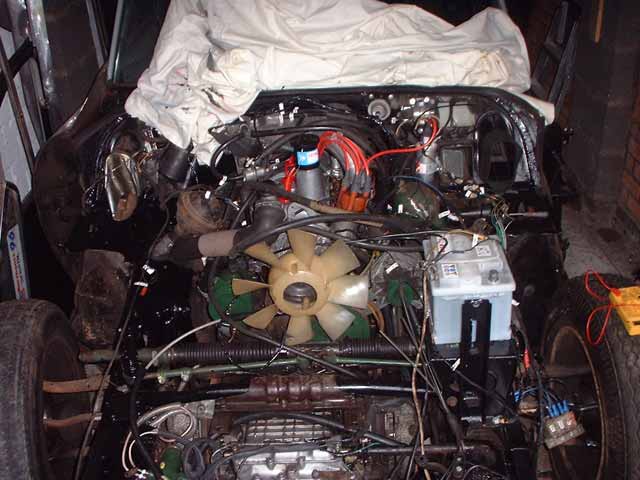
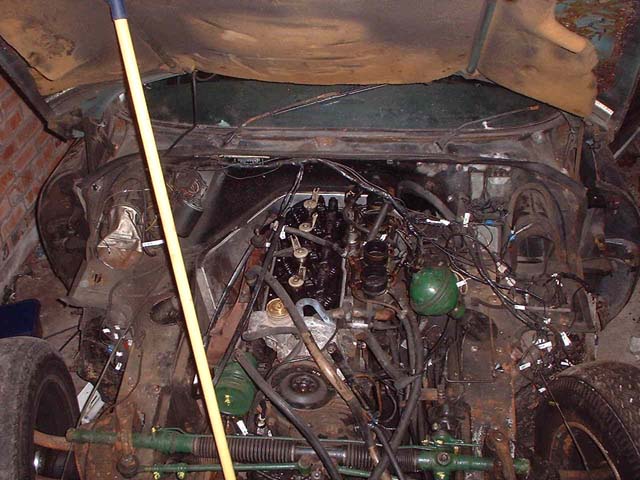
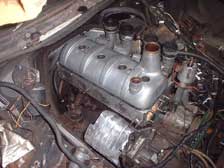
September 2002 - a shot of the engine during build up. I still have to fit the cooling system, dismantle and repaint the suspension wishbones and fit some new spheres, but compare this shot with the shot earlier on this page, and you should be able to see some progress!!
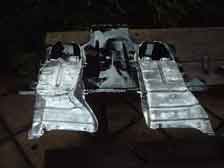
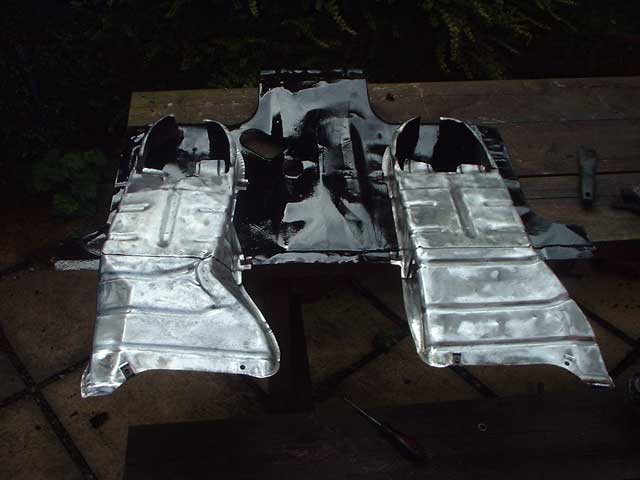
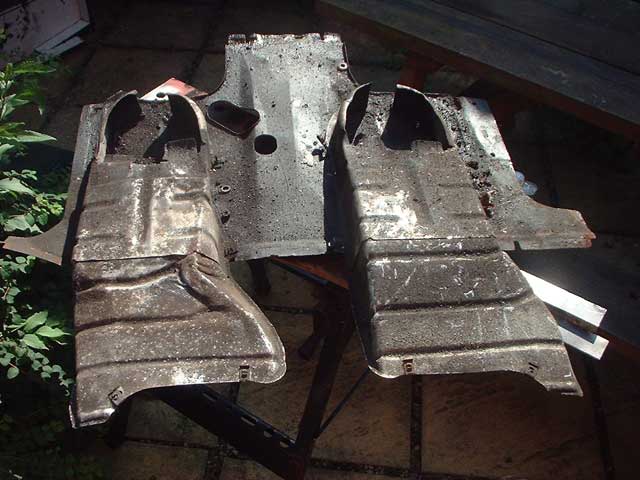
After degreasing everything with a wire brush and hose, I wire brushed the ducts and then clear coated them. The undertray was wire brushed and then painted black. It should actually be unfinished on the bottom, but I couldn't get a decent polished finish , so I painted it.
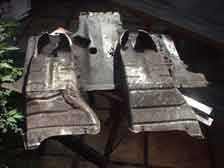
With the engine compartment looking clean, I couldn't help noticing the dirty brake cooling ducts and engine undertray. I had planned on leaving them this way, but in the end decided to clean them up. The aluminium ducts are held to the undertray by self tapping screws, which also fasten it to the front valance. The undertray is then bolted to the chassis.

This is the same shot from another angle - I'll need to order some new spark plug hole covers as the old ones were in pretty bad condition.
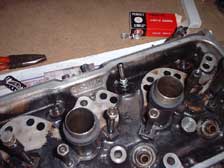
This is the head with the rocker cover refitted ready to have it's new fuel piping fitted.

23rd September 2001 - and here is the finished head - I've just checked the valve clearances (not easy with a 5 speed manual as you have no starting handle to turn the engine over with - you are supposed to use a '6 volt supply on the starter' - I hot wired the starter to the old battery which turned the engine a little too quickly, but did the job!). The yellow stuff all over the head is clean oil, which I poured over to lubricate it without waiting for a feed from the oil pump.
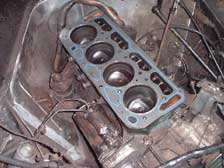
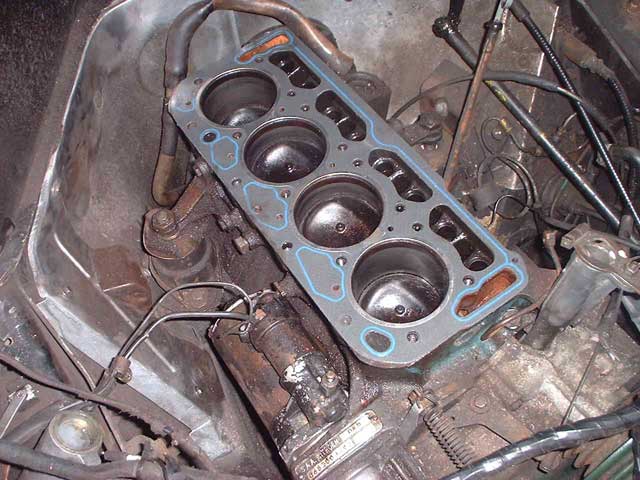
This is the new head gasket fitted to the block
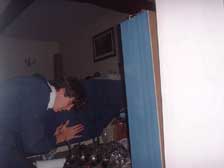
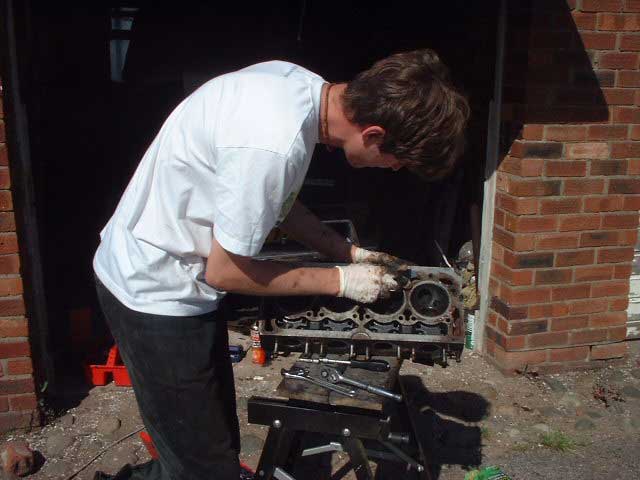
Here I am grinding the valves into the head in my living room!! (Clare was out...)
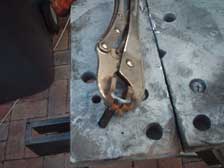
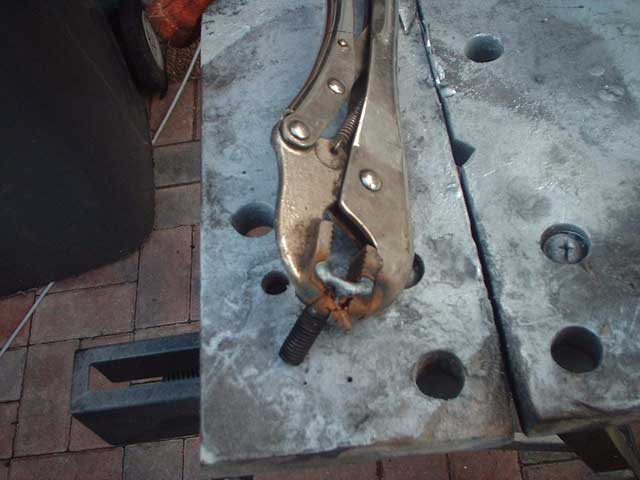
One of the head bolts had sheared whilst I was removing the head, so my original plan was to weld a nut onto the stump and spanner it off. However, this didn't go exactly to plan and the only way I managed to get the bolt out was to weld my mole grips to it! I wasn't exactly pleased with wrecking my best grips, but at least I didn't wreck my best engine!!
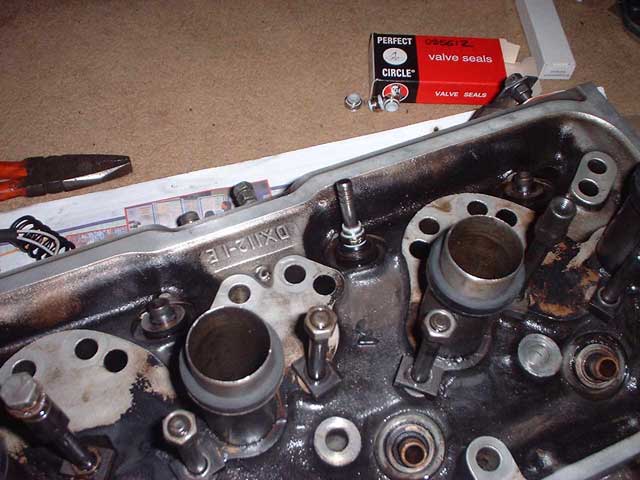
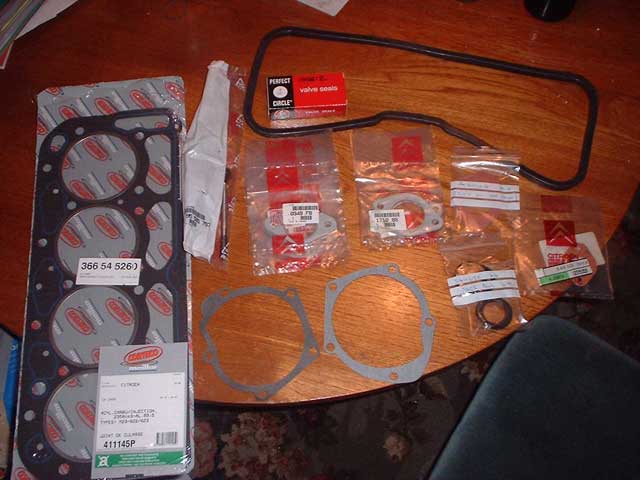
Here is one of the new valve stem seals - the seals I used were made by Perfect Circle.
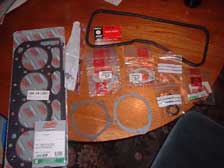
Here are the components I ordered to rebuild the head - I didn't order new valves as the old ones were still in excellent condition. I ordered these bits from Andrew Brodie in London.

Here I am cleaning the old head gasket off the cylinder head.
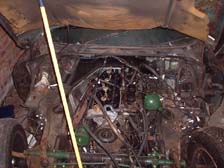
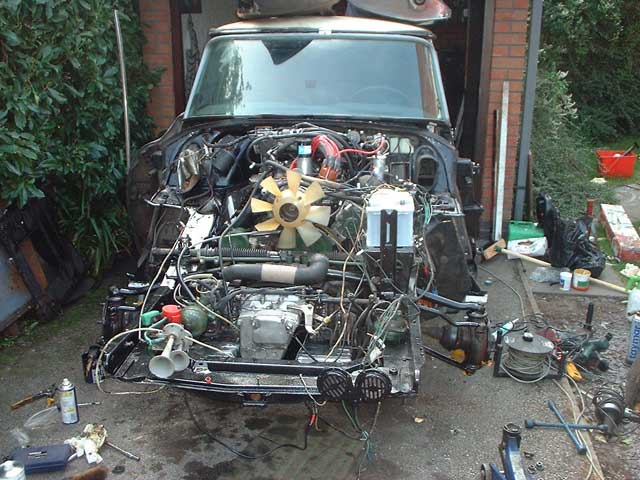
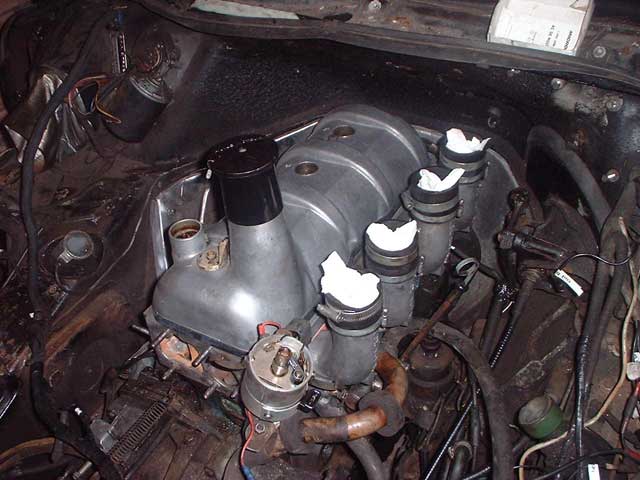
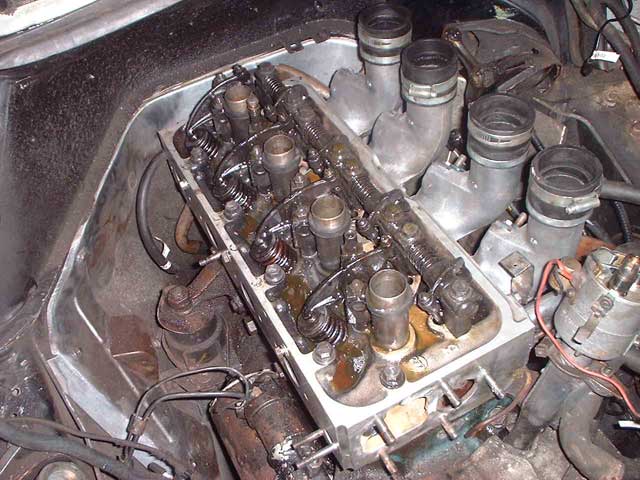
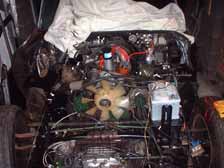
This is the engine with lots of bits removed. I've removed the radiator, the inlet 'bananas', the steering column, the coil/dizzy etc, the heater and lots of bits of piping. Also removed is the pressure regulator. I still have a few bits to take off before I can remove the cylinder head though!!
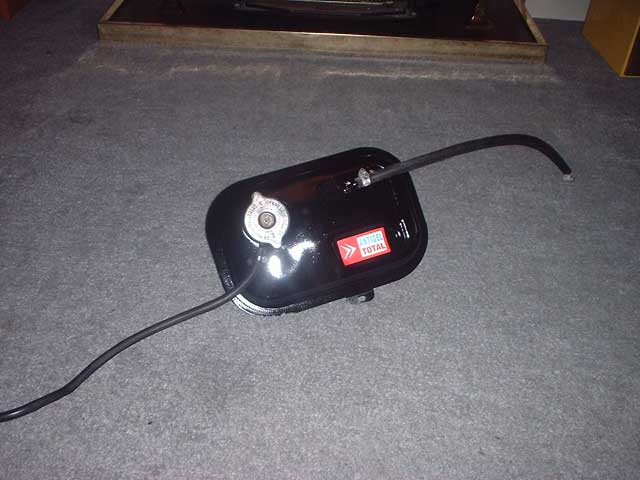
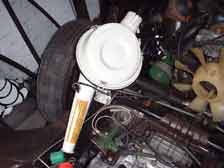
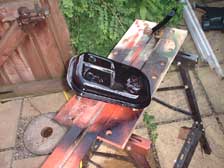
Here is the finished header tank- I purchased a new Total sticker from Citrogaz at the 2002 UK D Rally.
I primed the stripped tank, flatted the primer and gave it a good few coats of acrylic - the result is marvellous, better than I could've hoped. I blocked the filler neck with an old XM expansion cap, and polished the metal DS cap up, then clear-coated it. I'll assemble the whole lot tonight with new fixings and it should look amazing in the engine bay! May 2004 - I've now fitted a new expansion cap, courtesy of Chyparse.
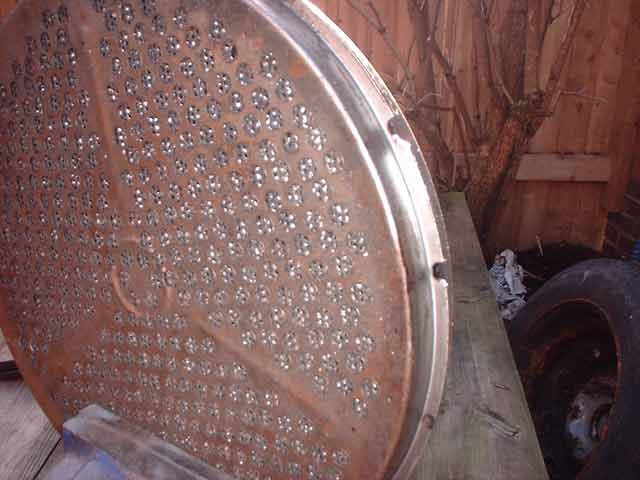
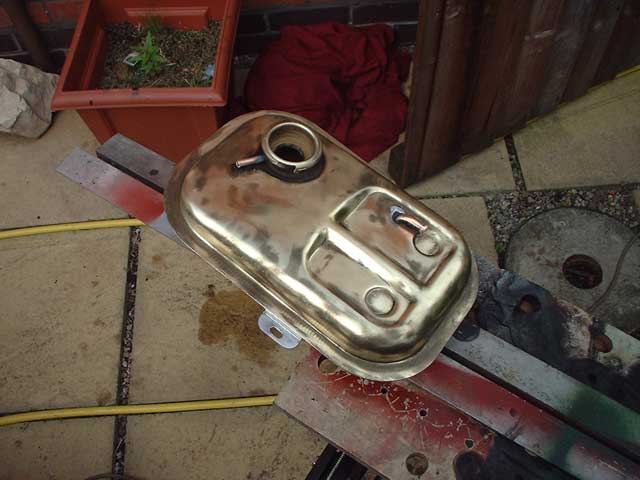
I cleaned the tank back with a wire brush, and look what was underneath! I assume the tank is made from brass, but it polished up like gold! I was almost tempted to leave it like this ;-)